

27TH SEPTEMBER, 2019
BY: JUDY CSIKY
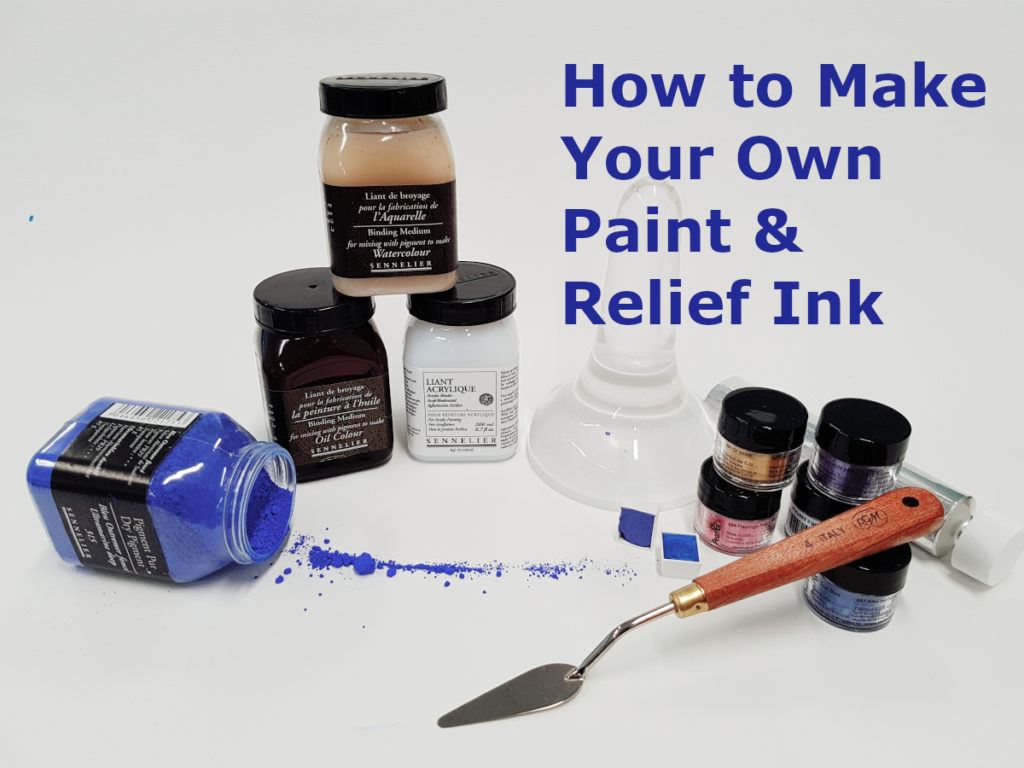
Have you ever thought about making your own paint or ink? In today’s world where quality art supplies are easy to get hold of making your own materials might seem strange, but this trend is very popular with artists and hobbyists alike. Looking at the selection of beautiful pigments, it is easy to see why you would want to have a crack at it. Join us on our adventure of paint and ink making using metallic pigments and various binders and oils.
Why Make Paint/Ink?
Acrylic paint is a relatively new invention and it only dates back to the 1930s when a German chemical factory started experimenting with synthetic resins. During the mid-40s acrylics were further developed into a solution based paint by Leonard Bocour & Sam Golden - the same Golden whose name Golden Artist Colours bears to date. Acrylic paints were first made available for the public in the 1950s. Today, acrylic is a water-based medium with many uses: it can resemble watercolour when diluted while its heavier version is used similarly to oils. Much to the appreciation of artists who tried oil paints before, acrylics dry faster and become waterproof, allowing them to build up the painting in layers. What's even better, acrylics don't contain any solvents, which makes for an easy clean-up and a safer studio environment. Starting out does not have to be a great investment nor a complicated task. You will simply need some paint, brushes and a surface to paint on. As a beginner, you may start out with a yellow, red, blue, black, white and burnt sienna. Alternatively, include cold and warm versions of the primary colours, a black and a white. The less you start with, the more you will rely on yourself which will help you become an expert in colour mixing in no time! Mediums and varnishes can come later, you will have plenty of time to experiment with them.
This popular and affordable range comes in more than 50 individual colours and a variety of starter sets. This set of 10 colours include warm and cold versions of yellow and red, a blue, green and orange to reduce time spent with mixing and, of course, a white and a black. Perfect for beginners.
Pigments and Binders
Next to decide is if you want student or artist quality materials. While there is the difference in price, both have their advantages. As a beginner, you might feel nervous about 'wasting' artist quality paint for your first endeavours or you might even catch empty canvas syndrome and get discouraged from painting. Student - or sometimes called studio - quality does not have to be a compromise. There are many good brands that offer nicely pigmented paint with an economical price tag, allowing you to pick more colours or a bigger starter set.
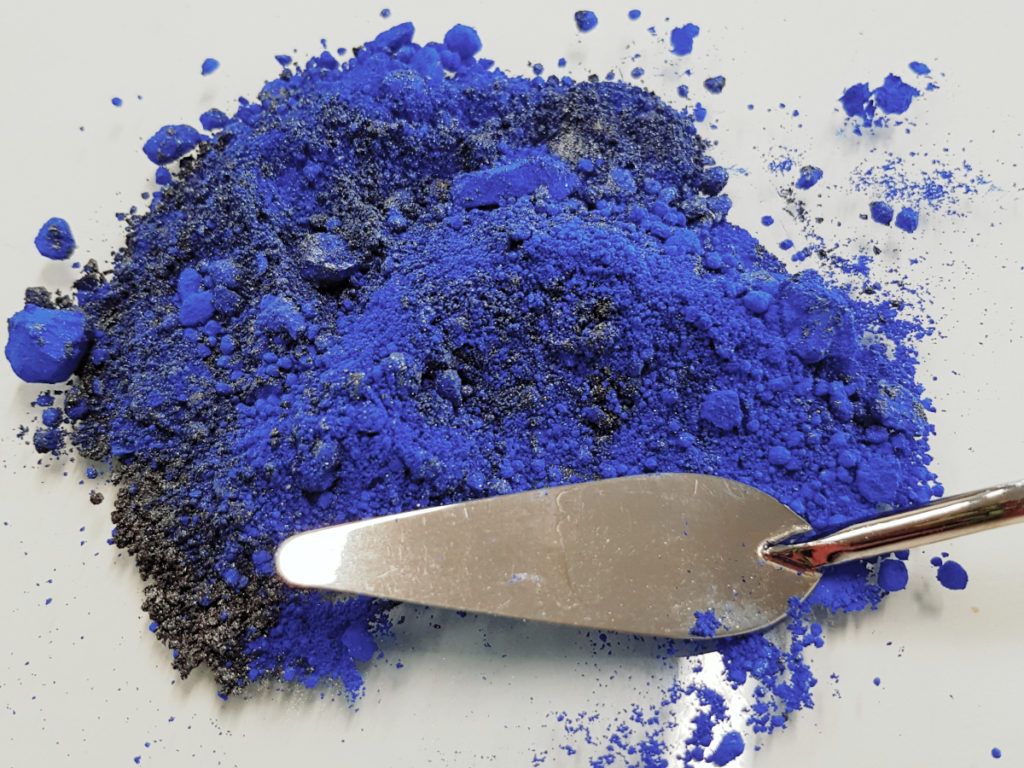
You can find recipes on the web or experiment with your own using base ingredients such as gum arabic and water for watercolour or you can buy premixed binders that take care of the chemistry part of making paint and also contain preservatives. While this may sound like cheating, it is still up to you to find a good balance of pigment vs binder and this way you can focus on mixing your pigments, coming up with unique shades and perfecting your consistency – without the scary possibility of it all going wrong.
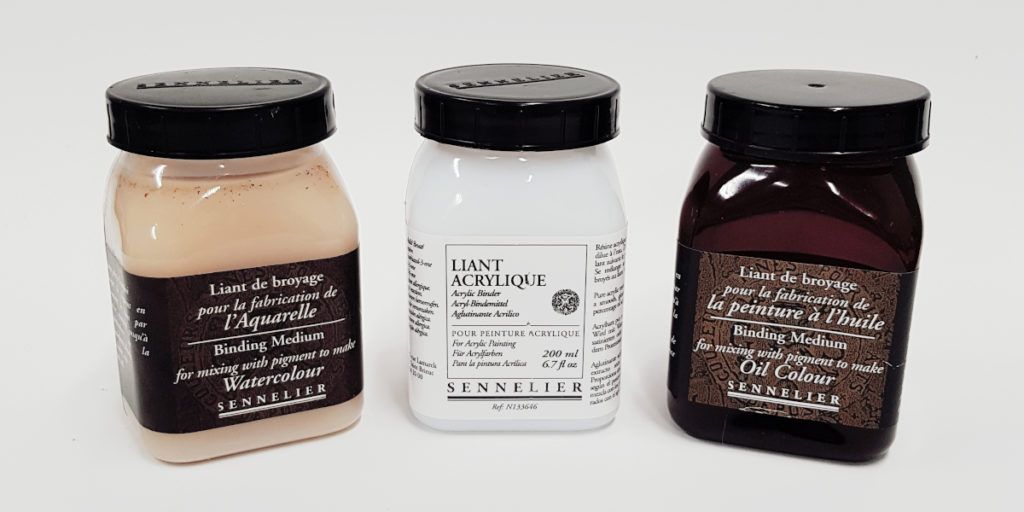
Sennelier Binders for watercolours, acrylics and oils
Making Watercolour Paint
Artist quality paints also have a range of benefits. For one, they are formulated with the best available materials and you can always rely on them for their high pigmentation, archival quality and vibrant colours. You will find different consistencies within brands - fluid and heavy bodied acrylics being the most commonly used - and generally more colour options. If you are an experienced painter in another medium (like oils) artist quality acrylics might be the way to go for you. Artist colours use genuine pigment rather than imitation ones and have a greater selection of transparent/opaque colours and matte/satin/gloss finished paint for your different needs.
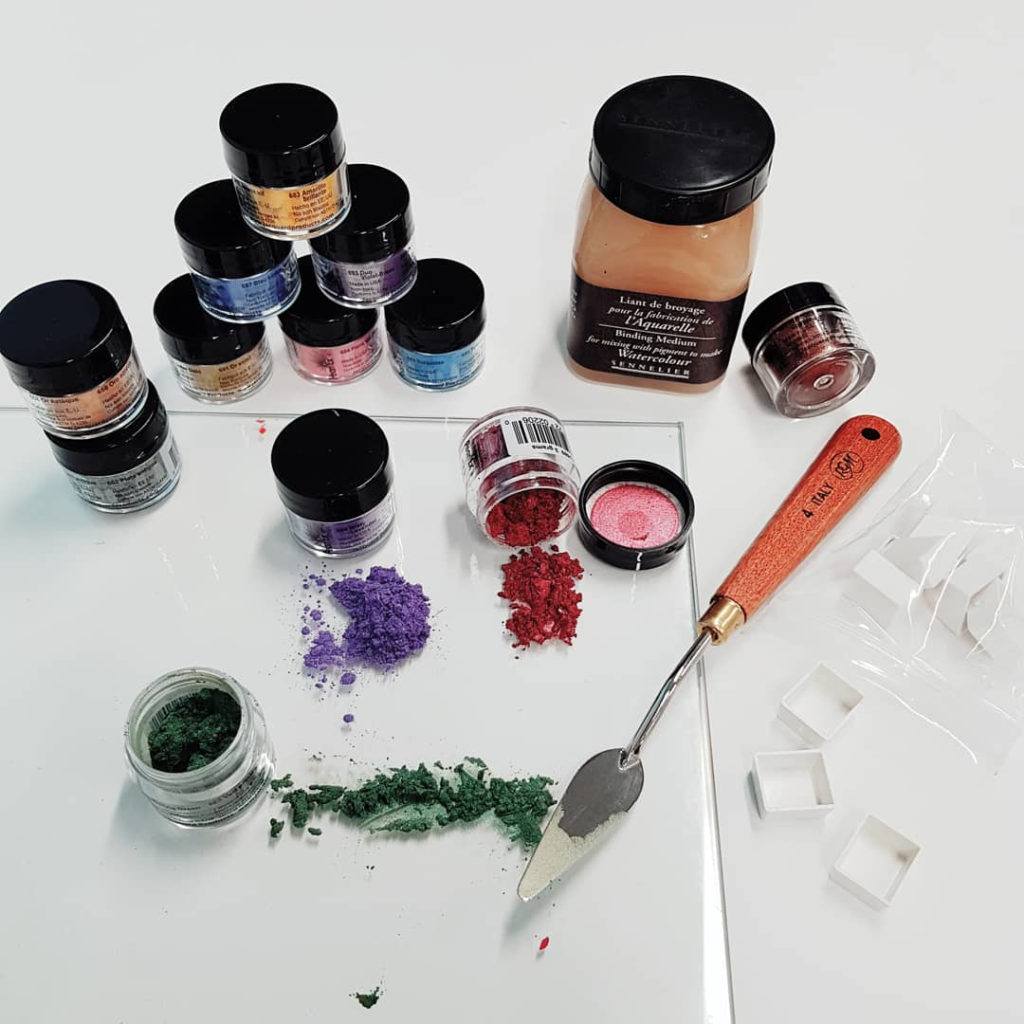
- PearlEx Metallic Pigments Set 2
- Sennelier Watercolour Binder
- Glass Inking Slab
- Glass Muller
- Palette Knife
- empty watercolour half-pans
- paper towels, wooden spatula (optional)ng the artist to use wet-in-wet techniques and to work with the paint similarly to using oils.
Some call it the best on the market, due to the highest pigment ratio and Golden's method of developing each colour individually. Given their involvement with the history of the medium, it's not at all surprising that their heavy bodied range comes in over 200 regular colours, an iridescent and an interference range. To top it all, Golden has a large range of grounds, mediums and gels that allow you to alter the consistency, texture, finish and drying time of the paint used without sacrificing saturation. While mediums & gels are not a must for beginners, you might want to experiment with them along your journey as they offer very unique results to maximise acrylics' artistic possibilities.
Here are just a couple of examples:

Perhaps one of the most appealing aspect of painting in acrylics is that you can use them on almost any surface, given that you prime it first, which will make sure the paint adheres to the surface. Canvases are the standard choice of surface for acrylics and most come ready-made, pre-primed and framed.
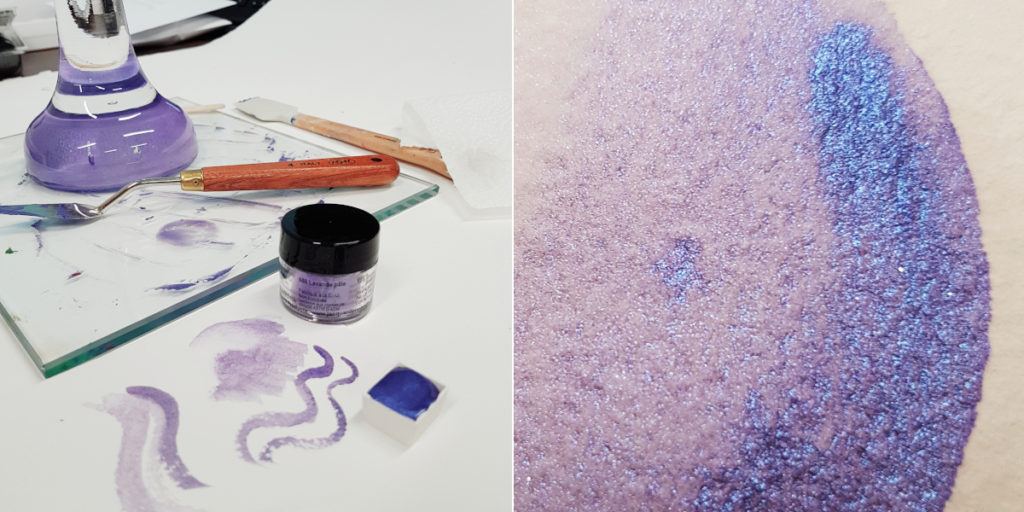
Metallic Purple Watercolour – filled into an empty half-pan (left) and a colour test on Arches watercolour paper – Look at that shimmer!
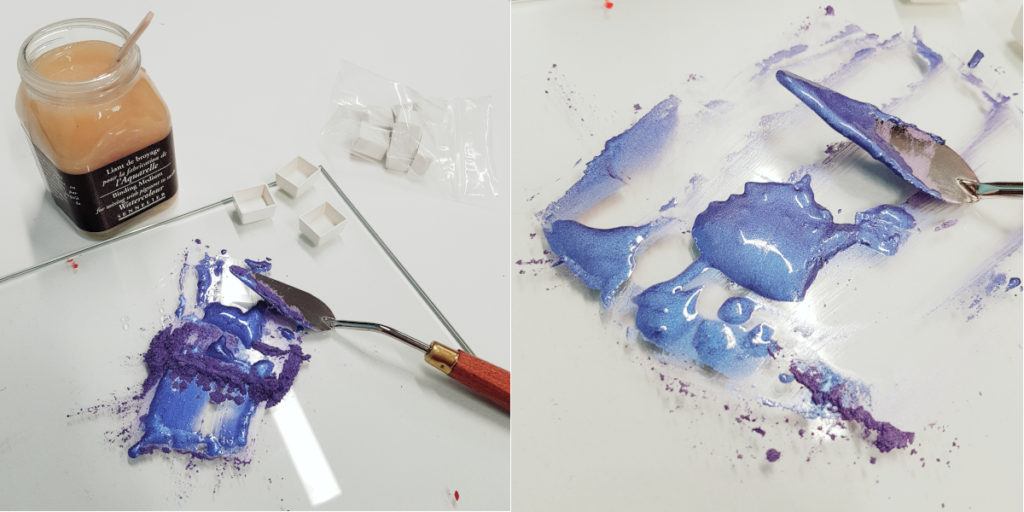
I repeated the experiment with another colour, turquoise, and I made a slightly runnier mix using the full tub of metallic pigment (3g), filling 4 half-pans and the paint still came out well. I would not suggest diluting it any further or you’ll risk throwing off the balance and get a paint that is gummy and doesn’t dry. Similarly, if you don’t use enough binder/use too much pigment the risk is a paint that does not adhere to the paper properly and wipes off when dry.
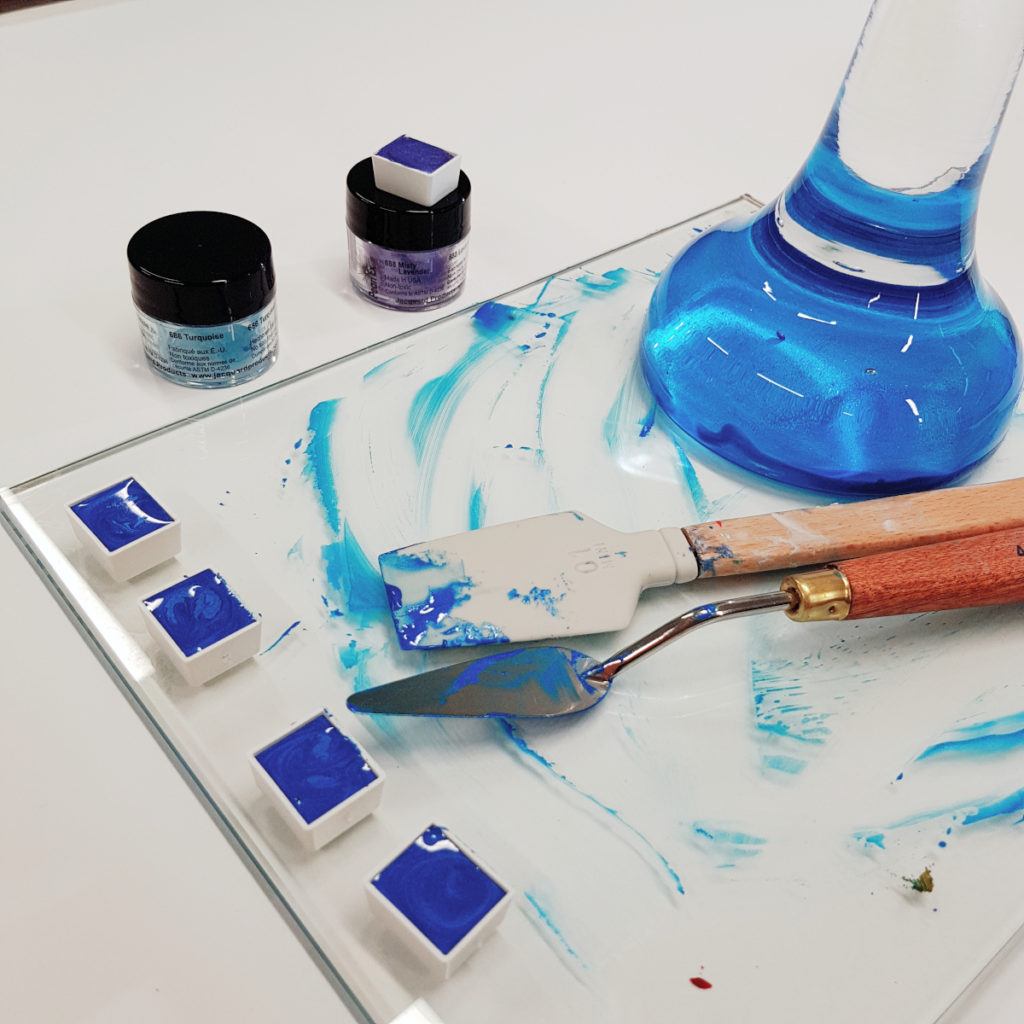
My second turquoise batch filled into 4 half-pans and the purple one drying in the background.
You can make acrylic and oil paints with the same method, using acrylic or oil binders. The consistency will have to be adjusted to the medium and it is a good idea to have some paint you normally use to compare it to.
Making Relief Ink
This was the hardest part of my project. Not many people attempt making relief ink as it can be quite difficult to figure out which ingredients each pigment needs. Before embarking on this project, I contacted Cranfield Colours, the manufacturer of art materials such as Spectrum Oils and Caligo Relief and Intaglio Inks. Their reply warned me that I might be attempting something near impossible without triple mill technology where ‘the pigment passes between water cooled cylinders that rotate at different speeds under enormous pressure’. Additionally, all pigments have a different ‘thirst’, requiring different oils. It is difficult to suggest a single go-to oil when the professionals use 17 types!
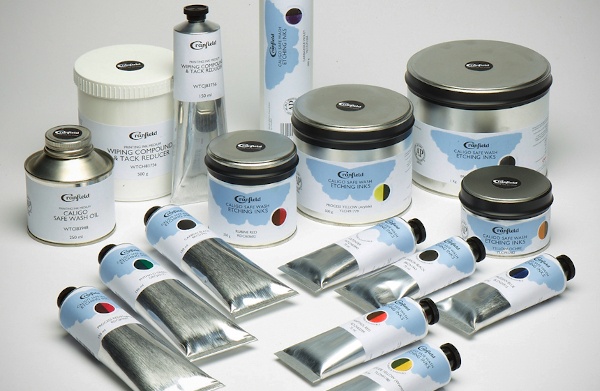
Caligo Relief Inks and modifiers
Nevertheless, because I am a forever optimist, I selected two different oils known to be used in making ink and an extender, and made three colours that I later tested with the help of the Lawrence Printmaking Club and Georgia Flowers.
Test 1: Silver Blue / Copper Plate Oil
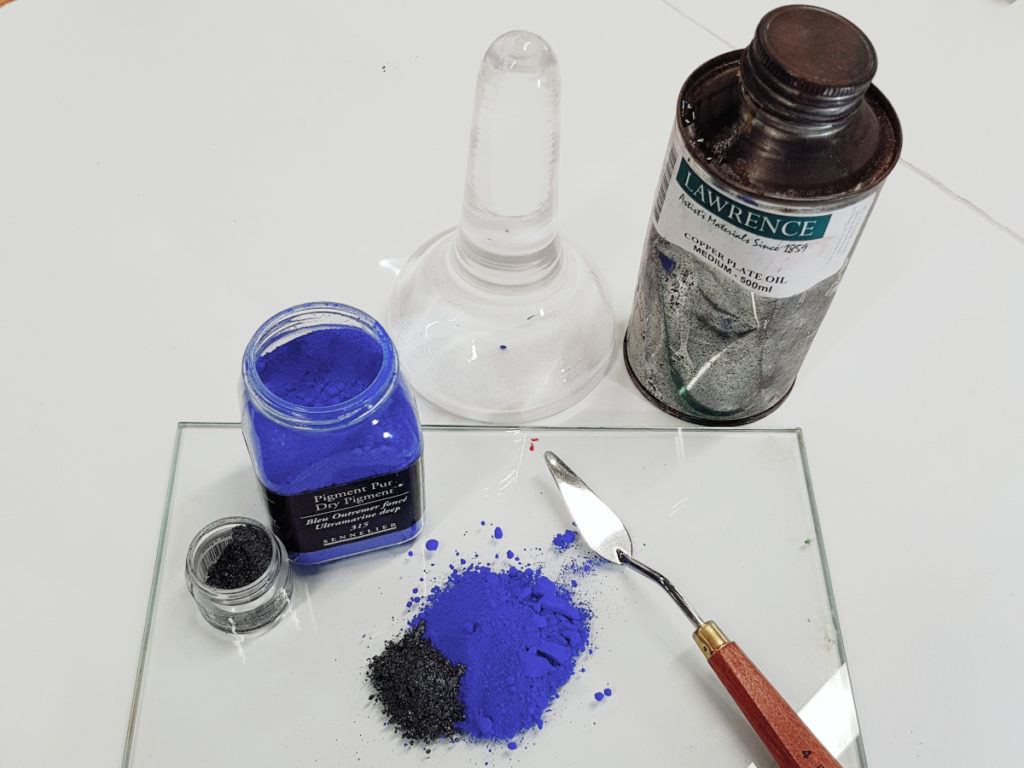
Materials used: pigments, copper plate oil, glass slab, muller and palette knife
The process is exactly the same as I described in the watercolour section. If you are using multiple pigments like I did here, make sure you mix your dry ingredients first then add the oil in small quantities. It’s a little bit like baking!
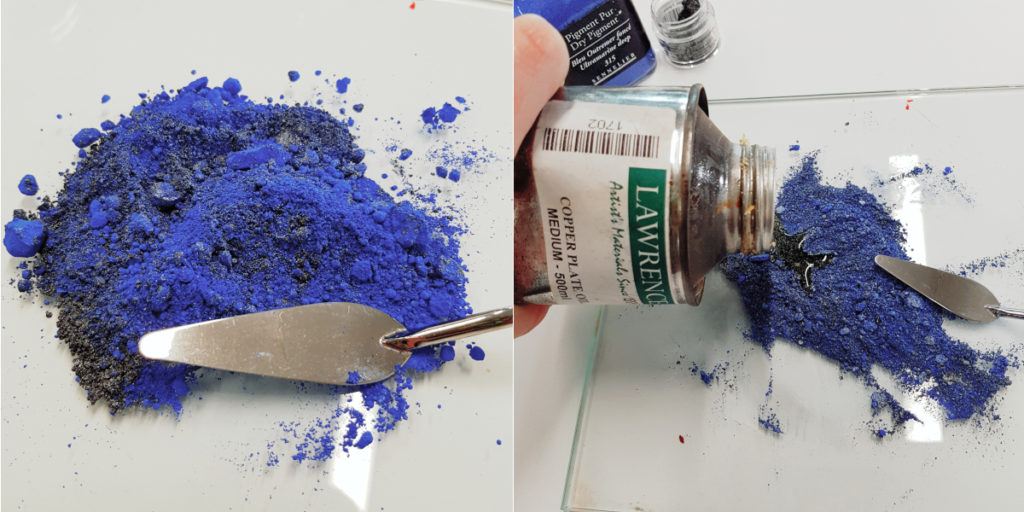
Mixing Pigments then adding copper plate oil
The process is exactly the same as I described in the watercolour section. If you are using multiple pigments like I did here, make sure you mix your dry ingredients first then add the oil in small quantities. It’s a little bit like baking!
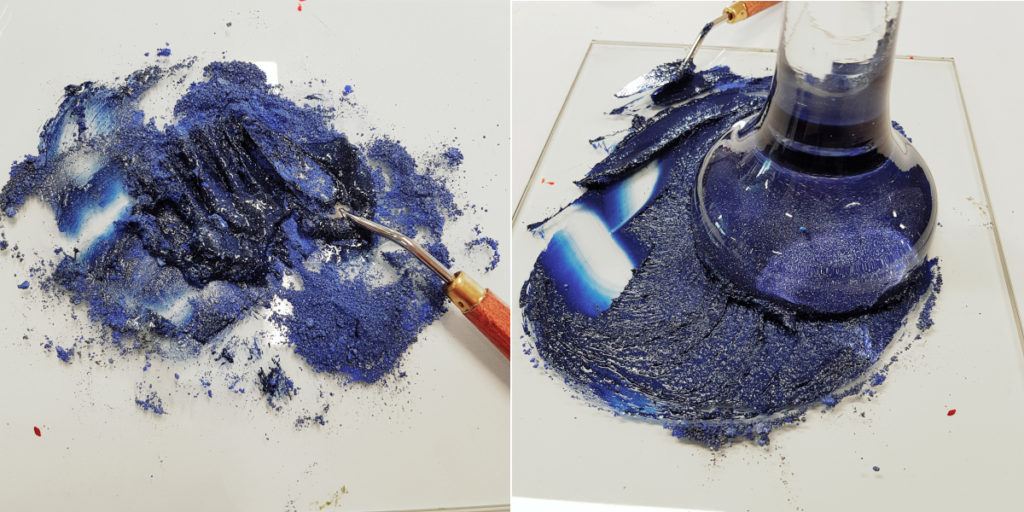
A very gritty mixture under the muller
Keep going until the mix feels smooth. Add pigments or oil if needed.
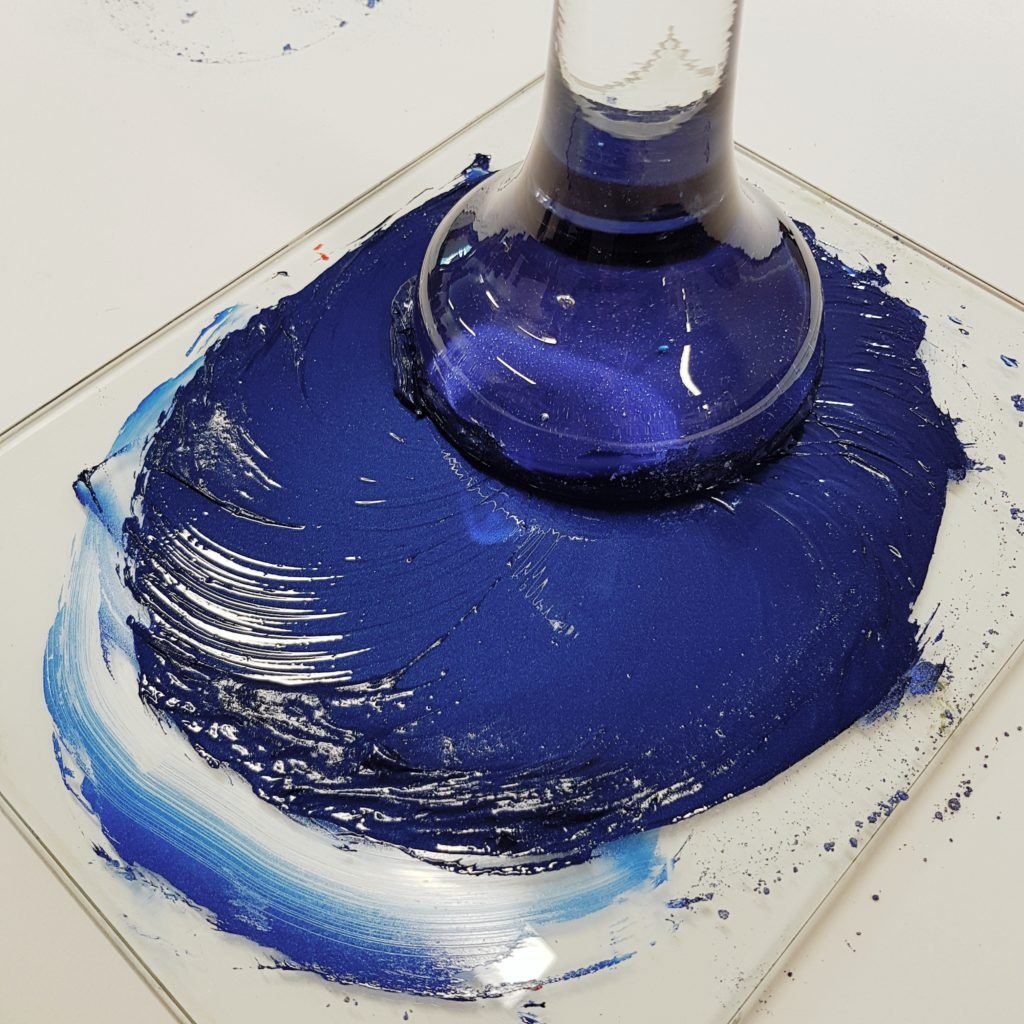
Silver Blue Relief Ink containing copper plate oil finished – Look at that sparkle under the muller!
Keep going until the mix feels smooth. Add pigments or oil if needed.
Test 2: Purple Blue / Cold Pressed Linseed Oil
This test used the same tools – except I used Flamingo Pink metallic colour and Cranfield Cold Pressed Linseed Oil. The method was the same too. Mix pigments, add oil, grind, adjust.
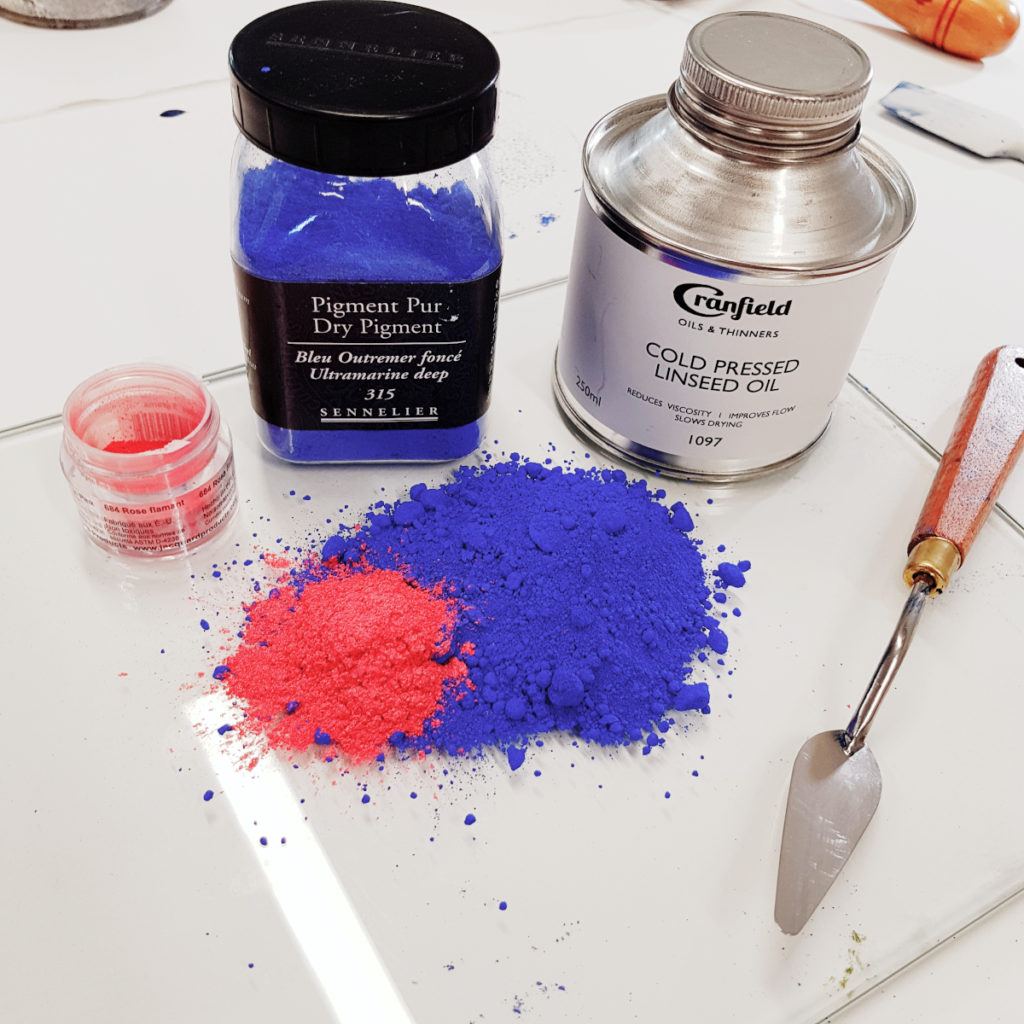
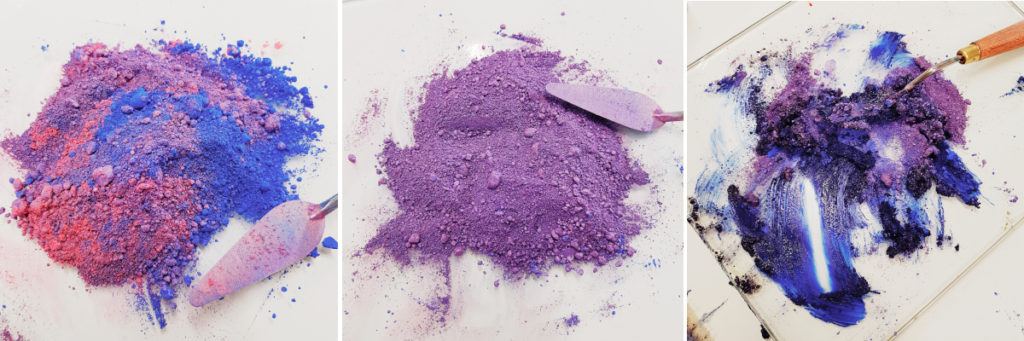
Mixing Ultramarine with metallic Flamingo Pink to create a lovely Purple
Keep going until the mix feels smooth. Add pigments or oil if needed.
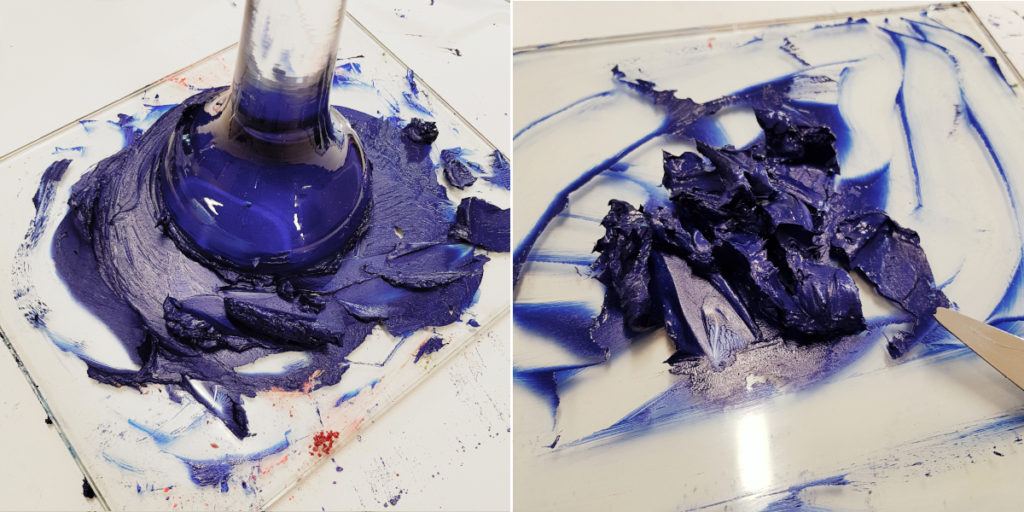
The ink felt too oily, even after adding a lot more pigment. The colour was not as purple as I wanted it either.
Nevertheless, I filled the mix into an empty tube. Now I had two inks to test with the club with another experiment in mind…
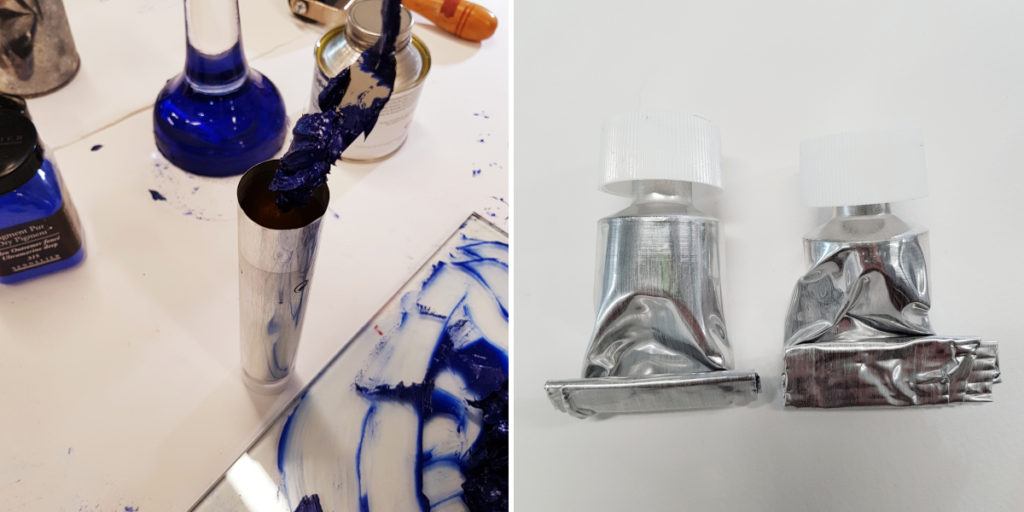
Tubes filled with home-made relief inks. Excuse my horrible rolling technique. When filling empty tubes, it is very important to not let air get trapped as it can dry out the ink. Much more important than how the tube ends up looking.
Test 3: Spring Green / Caligo Extender
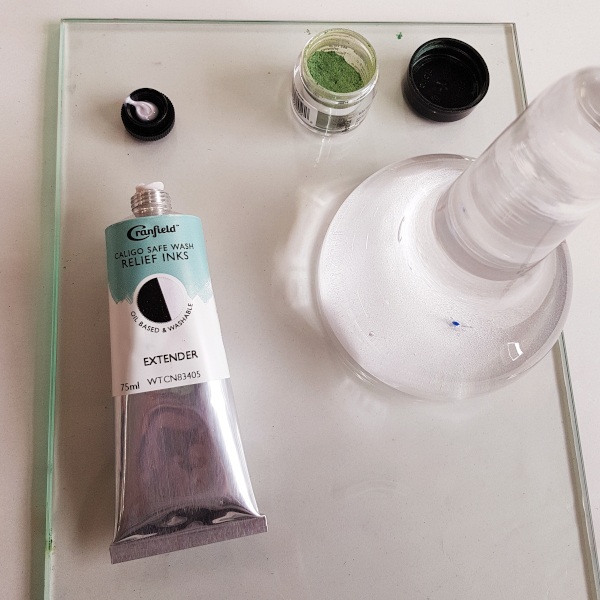
My third experiment with making relief ink came from the idea that you can create transparent versions of colours by adding some extender. Normally, you would add your premixed ink but this time I just wanted to add some metallic pigments to see what happens. I used Caligo Safewash Extender.
Here’s my third test in pictures only.
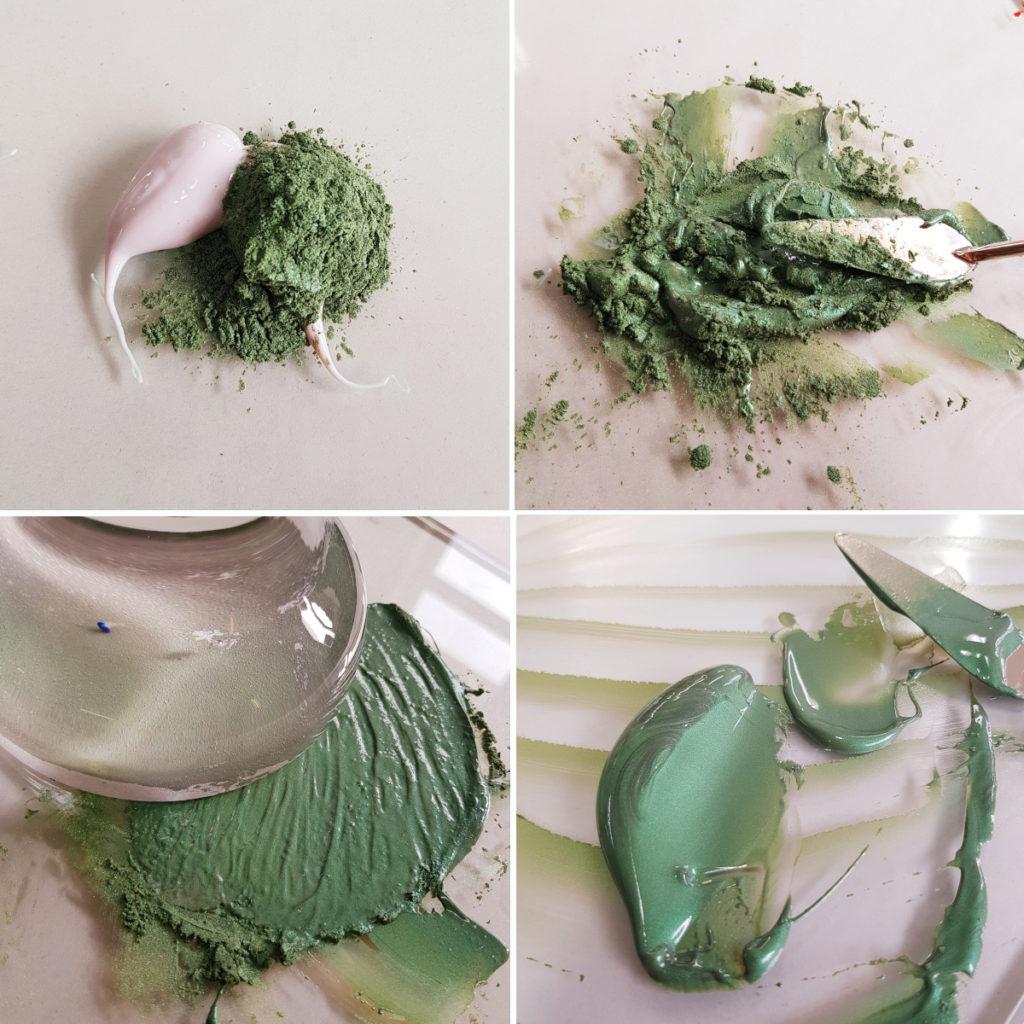
Lovely metallic green pigment mixed with Caligo Extender, the iridescence of the resulting ink looked very impressive!
Testing the Printing Inks
I went to the Lawrence Art Studio where the Printmaking Club meets every Wednesday to test my new colours. Georgia Flowers, who is the dedicated leader of this small but tight-knit club helped me ink up a vinyl plate I carved for a previous project. First we tested the two blues: the Silver Blue made with Copper Plate Oil (image on left) and the Purple Blue made with Cold Pressed Lindseed Oil (image on right).
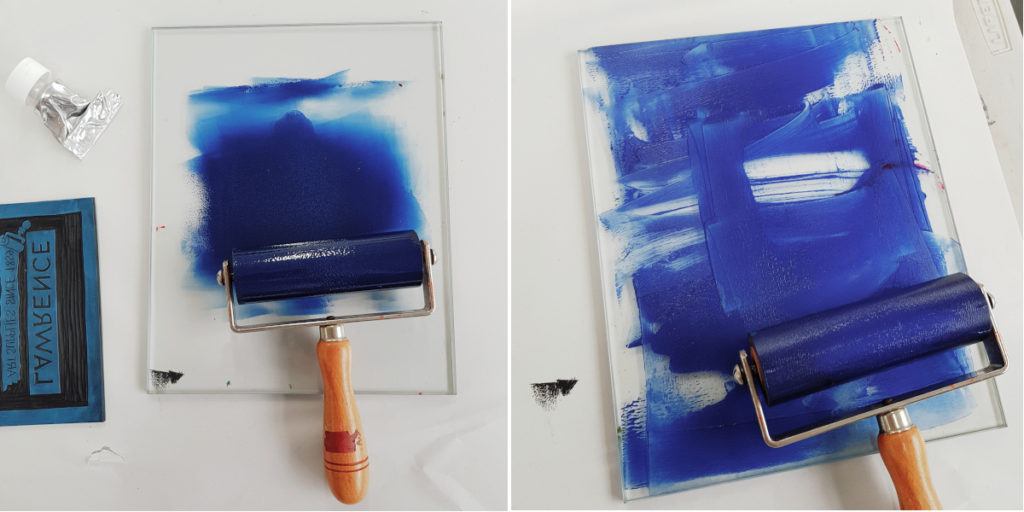
Copper Plate Oil based Ink (left) and Cold Pressed Linseed Oil Ink (right)
As you can see on the pictures, the Silver Blue rolled out perfectly but I had problems with the Purple Blue. The ink was too buttery and the roller kept slipping on the inking slab. It felt more like oil paint than printing ink and I didn’t have much hope for printing it.
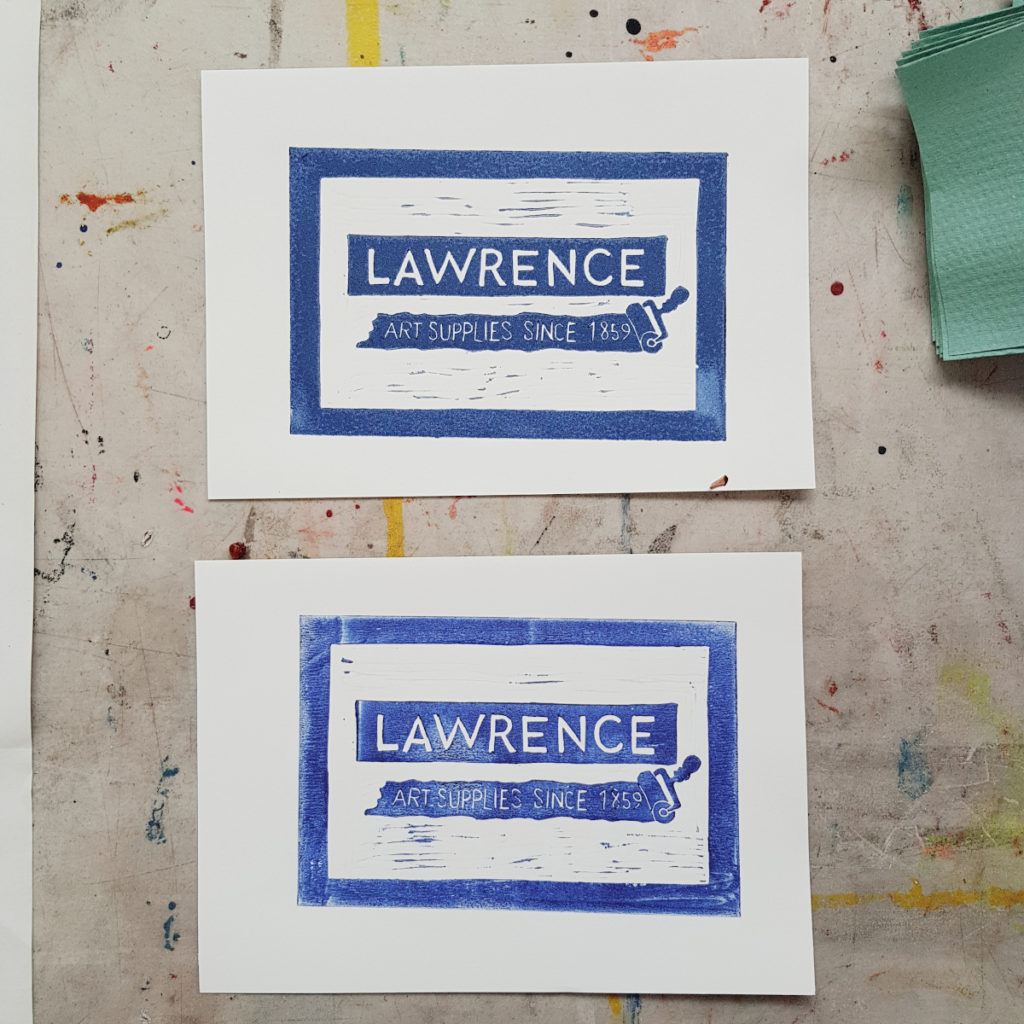
The good (top) and the bad (bottom) ink
The Silver Blue printed very nicely and while the iridescence didn’t come across as much as with the watercolour I made, the quality was quite decent. The consistency was just right and the colour I made was really pretty. The Purple Blue, on the other hand, printed in a patchy manner, with a lot of loosely covered areas. Georgia confirmed that the ink didn’t have the right viscosity and it was more like oil paint.
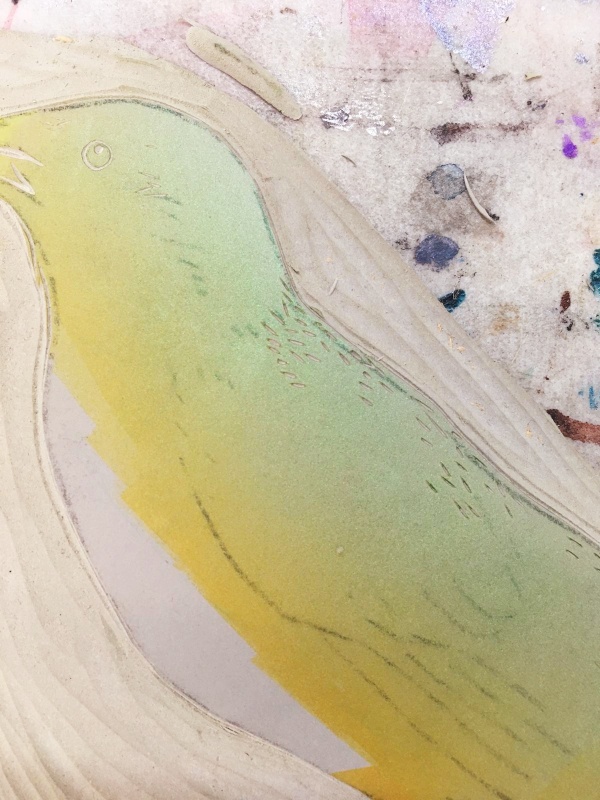
Then she printed the green on a new design she was currently working on. The bird’s feathers are iridescent in the wild so it was match made in heaven, especially since iridescent relief inks are not readily available. However, the ink I made proved to be too thin and transparent and didn’t carry enough iridescence to the paper.
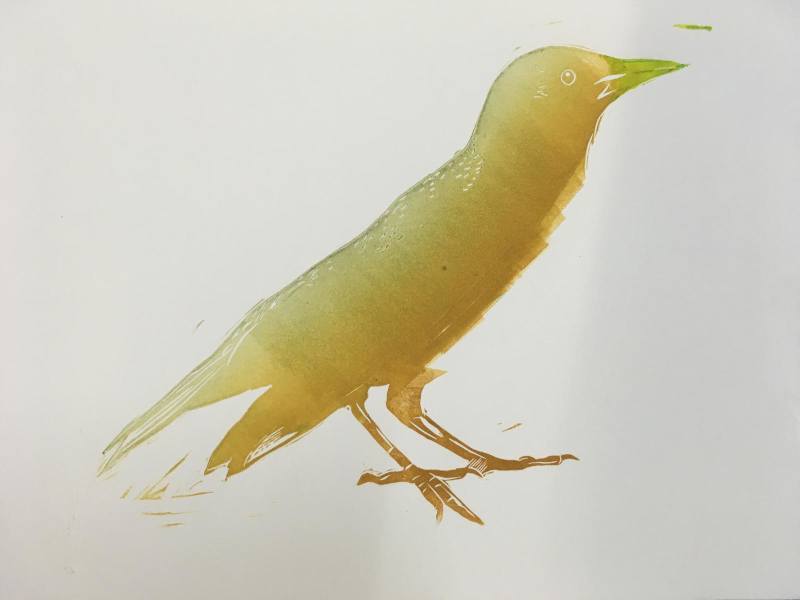
Georgia Flowers – Bird in progress – printed with Iridescent Pigments ground into Caligo Extender – the result was not strong enough to call successful.
We agreed that we would need to try adding more pigment into the extender to see if we can get a better ink with more iridescence. So even though only 1 out of the 3 inks I made was successful, I was happy. It was a very interesting experiment that I learnt a lot from. I concluded that the best vehicle for making relief inks was copper plate oil and that metallic pigments are a lot harder to make into working ink than ordinary ones.
We hope you enjoyed this paint/ink making post and that it inspired you to experiment with the many amazing pigments available or perhaps to collect ingredients from nature to make something unique. Remember, all art materials mentioned in this article can be purchased through our website, by calling 01273 260260 ext 1. or in our shop at 208-212 Portland Road, Hove.

A clear Perspex palette Palettes A plastic palette with a thumb hole is the acrylic painter's best friend. It is convenient to hold while painting, easy to clean and usually comes in clear or white which helps you mix your colours more accurately.
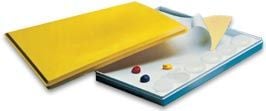
Stay-wet palettes keep paint moist for weeks Stay-wet Palettes One thing to keep in mind about acrylic paint is that it dries fairly quickly in the open. Once it's dry you won't be able to use any leftover paint so it might be worth considering buying a palette that will keep your acrylic paint moist for weeks. Stay-wet palettes like this are perfect, they keep your paints in a workable condition and you never have to waste any paint either! Have a look at our full range of palettes here!
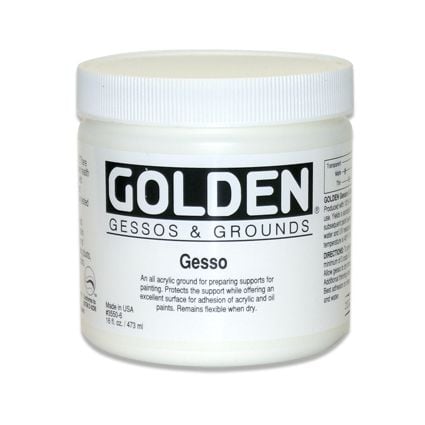
Golden Gesso Acrylic Gesso If you are painting on an unprimed surface, you need to make sure you prime it first so it accepts the paint. Two to three coats of gesso, applied with a brush or a spray, are sufficient to seal your surface, whatever that may be! Paint on artboards, window frames, furniture - the possibilities are endless - which is why you will never get bored with acrylics!
This concludes our entry about acrylics. We hope you get inspired to paint with this fantastic medium and keep an eye out for a post about gels, mediums and grounds for intermediate and advanced level acrylic painting! All products mentioned in this article are available to order at www.lawrence.co.uk, in our Hove shop or by calling us on 01273 260260 ext.1.