

27TH MAY, 2021
BY: JUDY CSIKY
Welcome to our blog series where we cover the basics of printmaking. Each post gives you detailed advice on choosing the right tools and helps you navigate the endless list of materials and equipment you might come across in relief and intaglio printing. This time we are looking at blankets for different types of printmaking presses so this article will be especially helpful if you are just setting up your equipment or looking for replacements for those worn out felts.
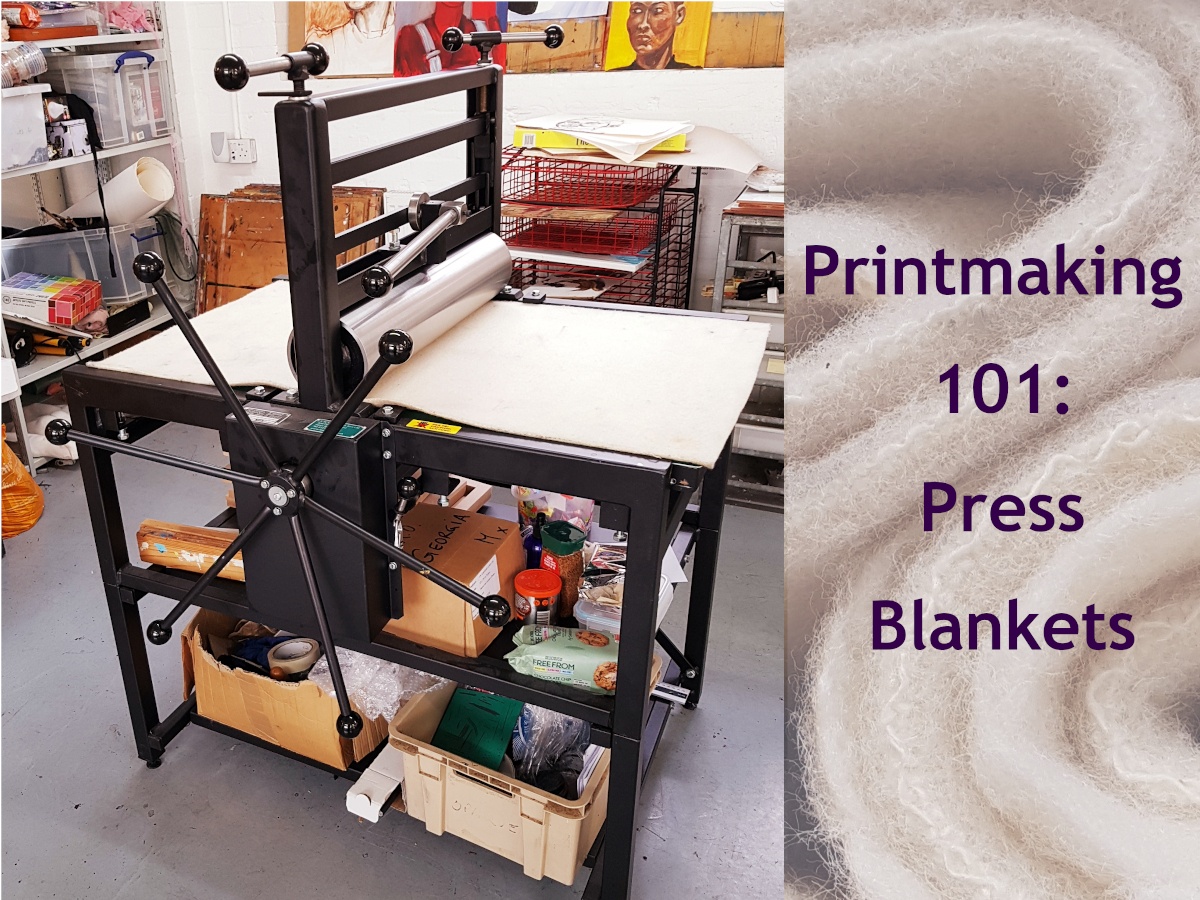
Presses need blankets or sometimes called felts to soften the impact of the roller and to evenly distribute the pressure. There are three types of blankets we sell: Compressed, Flannel and Economy Felt. They each have different qualities and you will need a combination of these to make sure you get the most out of your press. So let's talk about these three types in more detail.
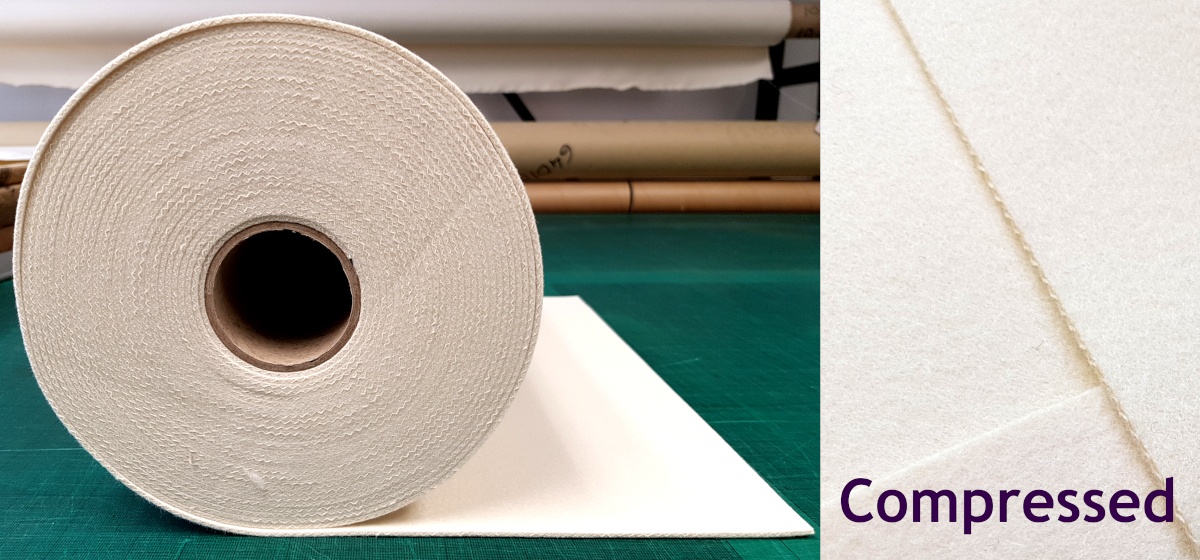
Compressed blankets are sometimes called fronting blankets or size catchers. They are the thinnest ones with their 3mm thickness and they go on the bottom or closest to the paper. They are dense and tightly woven so they do not leave weave marks on the paper. Their purpose is to apply an even pressure across the paper as it impresses onto your inked-up printing plate. Our compressed blanket is made of 100% wool and it is of outstanding quality that will last you decades when handled with care.
Because compressed blankets sit closest to the paper they catch the moisture from the printing process. After a longer session it is good practice to remove them and hang them out to dry. It is worth noting that the sizing from the paper will also transfer over and build up in the blanket over time. When your fronting blanket starts stiffening up or if you notice that your print quality is dropping, it is time to properly clean it - more on this later.
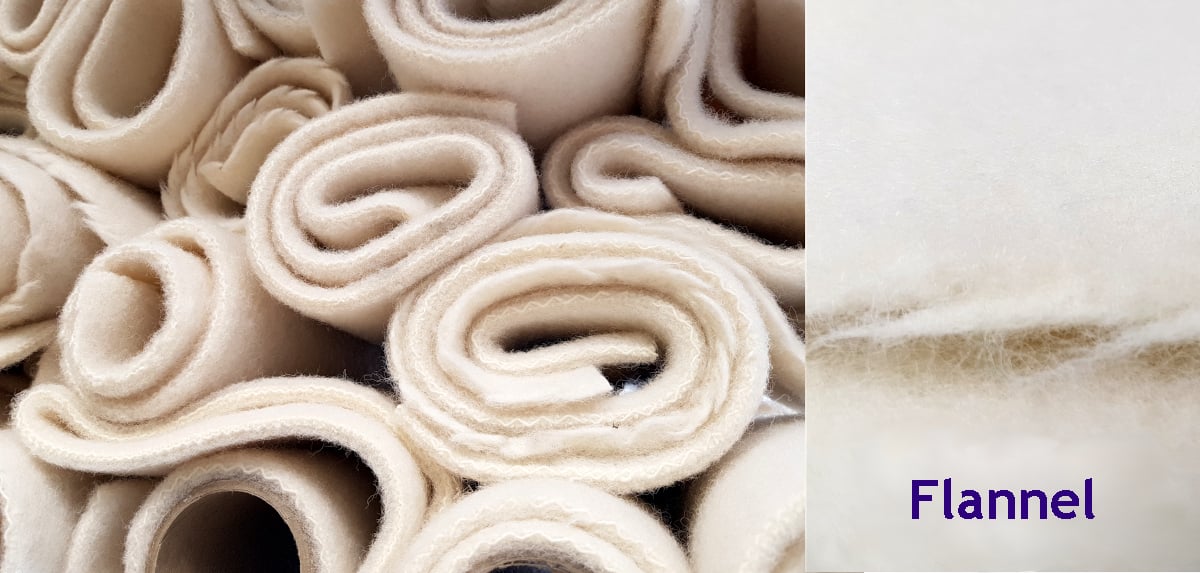
Fortunately nowadays the swanskin is just a nickname for this blanket that was traditionally made from actual swanskin (including feathers). Our swanskin is a quality Flannel blanket made of 100% woven wool and it is the thickest of the bunch with its 6-7mm. When used in etching presses, it is traditionally placed on top of the fronting blanket and provides further pressure and flexibility for the printing process. As it contracts and expands it takes most of the roller pressure whilst also cushioning your printing plate. It requires less maintenance as the moisture is taken up by the compressed blanket.
Flannel blankets can also be used in presses other than the roller type etching presses. While blankets are not a requirement in relief printing (you can use a wooden board or a stack of paper (this is called packing), felts can be used in presses such as hydraulic and hand-lever types for a specific effect. When printing a relief block with a blanket between the paper and the plate, you get more pressure and will notice that the paper picks up more marks. This can sometimes be problematic if the marks are imperfections, however, they can add a unique touch and for some printmakers this is very much a desired effect.
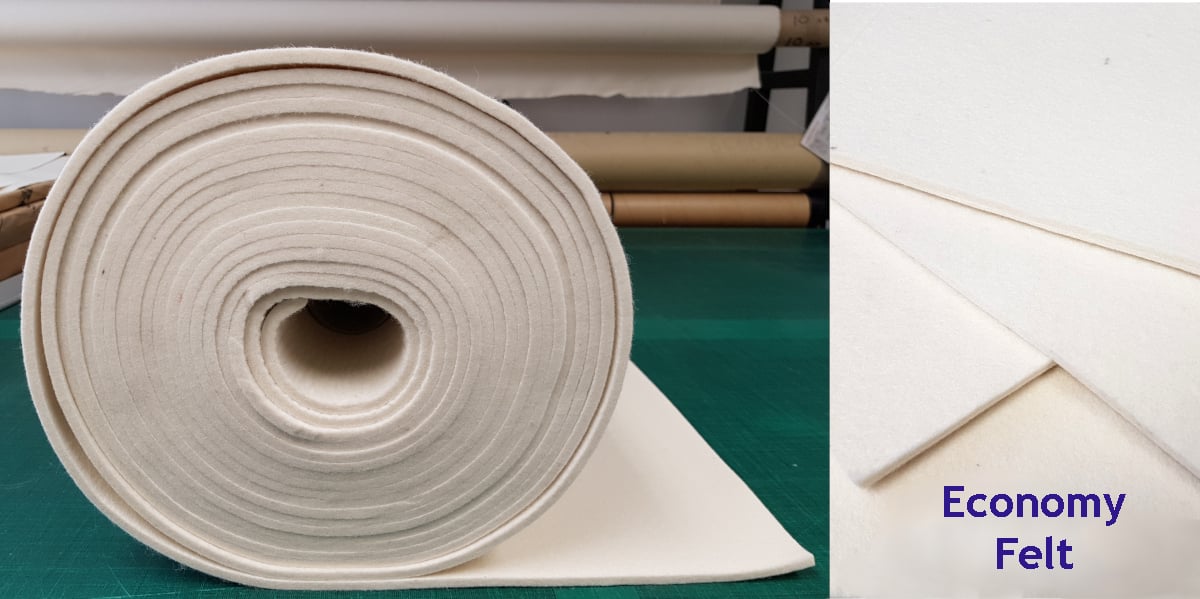
This is our student quality blanket that is 80% wool. It is not woven but pressed and it is approximately 5mm thick. We recommend Economy Felt for printmakers on a budget and for studios used by multiple users such as the ones found in schools where a lot of wear and tear is expected. These blankets are good quality but they will not last as long as the artist quality Compressed and Flannel blankets and it is harder to clean them which is reflected in their price.
Everyone's preference is different and we all work with different materials and processes so take the below advice as a starting point rather than a rule. When using a traditional top roller driven or an etching press, we recommend the following order of blankets from bottom to top or paper to roller:
- Compressed / fronting / size catcher - This one takes care of the moisture whilst also distributing the pressure
- Flannel / swanskin / forming - this blanket will take most of the pressure, cushon you plate and protect your equipment
- Compressed / pusher blanket - consider adding a third layer to take the brunt of the wear from the roller. Whilst you can skip this one if you are on a budget, the tight-weaved compressed blanket will keep the flannel in place and protected from wear
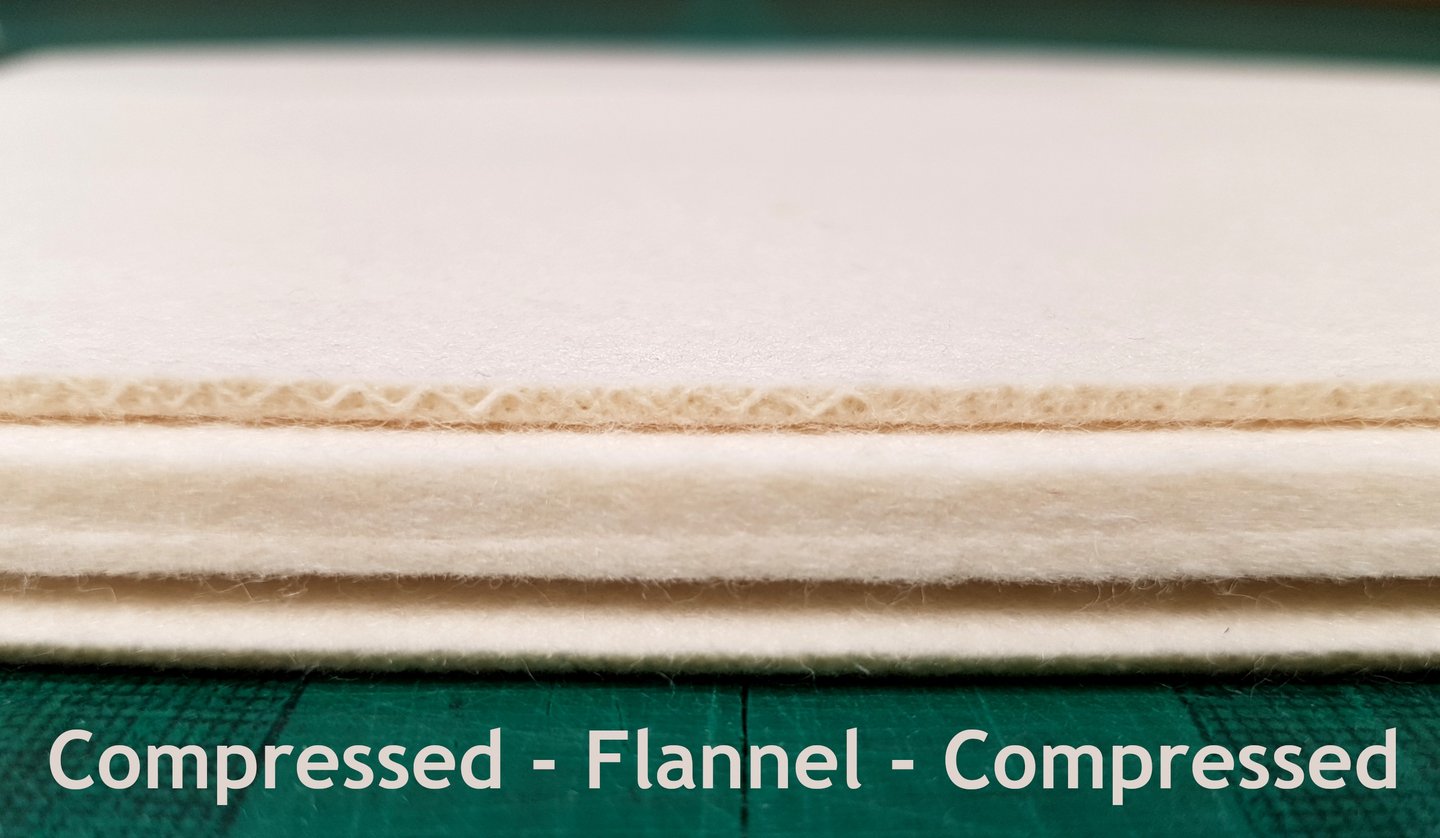
2-3 Blankets are the modern standard, however, in the past printmakers used to use 4-5 layers to achieve a greater pressure. Modern presses are equipped with smaller diameter top rollers so they are able to apply more pressure than the heavy rollers of the past. Adding additional layers can be a good idea when you notice pressure problems in the printed image, when working with an older press or any that is equipped with a larger diameter roller.
If you choose the Economy Felt blanket, use one or two layers depending on your pressure requirements. They can also be used as a substitute for a flannel blanket by the budget conscious printmaker that aims for an improved print result. In this case use a Compressed blanket on the bottom and an Economy Felt on top.
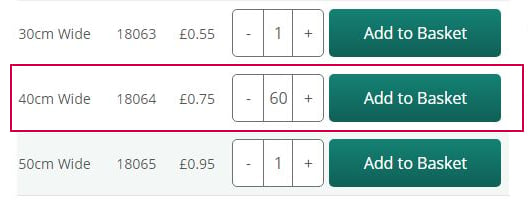
We recommend that you fit your blanket to the size of your press bed. So for a bed size of 40 x 60cm you will want to buy blankets in this size. Some printmakers prefer slightly shorter blankets as they will expand with use as they receive pressure from the roller. In this case a couple of inches shorter (40 x 55cm) should be sufficient.
Web Order Tip: when selecting blankets on our website choose the width of the blanket from the list (eg. 40cm Wide) then specify the required length in the quantity field (60, 55 as required). If you need multiple blankets of the same type and dimesions, simply double or triple the quantity (120, 180 etc) and leave us a note at the checkout to cut your blanket into smaller sizes.
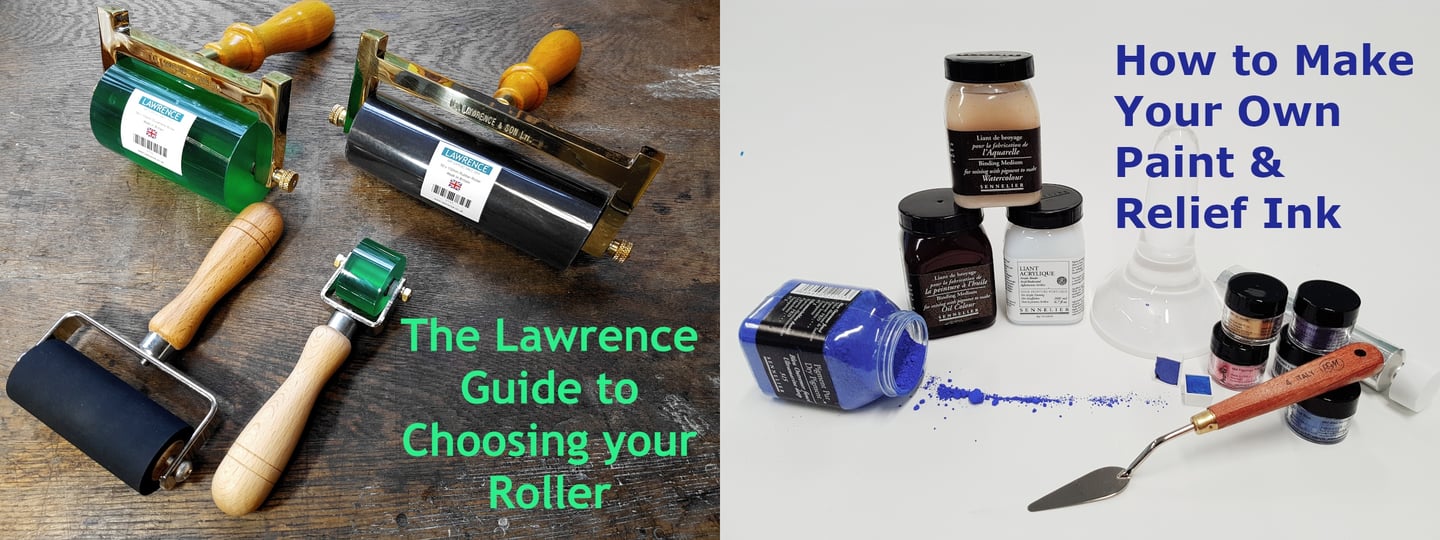
If you found this article useful you might like our previous posts such as The Lawrence Guide to Choosing your Rollers or How To Make your Own Paint and Relief Ink. Keep your eye out for upcoming articles about printmaking and more!
Are you and experienced printmaker? Have you come across knowledge through your studies? We would like to hear your expreiences with press blankets. How many and what types do you use? Do you follow a similar order of the layers or do you have an entirely different system? Do you have any advice for printmakers starting out? We would love to hear from you share your experiences with blankets on our social media platforms.