

21ST MARCH, 2018
BY: JUDY CSIKY
We had a fabulous evening of fun last month where Lawrence staff members were given a screen printing demonstration by Vicky Ramsey printmaker. We thought we would share some photos and wisdom with those of you fascinated by this craft or looking to start out in screen printing.Screen printing materials: Cutting Mat, Wooden Screen, Fabriano Accademia paper, Speedball Acrylic Screen Printing Inks (Medium Red, Process Blue), Artist Quality Squeegee 15cm, pencil, Craft Knife and stencil paper.
Screen printing requires quite a few materials to get you started, but you will probably own some of these already. Generally, you will need drawing and cutting tools like a pencil, a craft knife and a self-healing cutting mat, some thin paper for making a stencil and your creativity. For the specialised materials needed, here is a handy list: a. Wooden or Aluminium Screen - we used wooden ones but both will serve you well. Keep in mind, you will need a mesh count of 43T for printing onto fabric and 90T and up for paper. b. Screen Printing Ink - we used the very popular and affordable Speedball range which is acrylic based and water-soluble. It dries to a water-proof finish and is easy to clean which makes life much easier. They make both fabric and acrylic inks for screen printing. c. Squeegee - a good quality squeegee will go a long way, we used a 15cm long one. d. Paper to Print onto - we used a 200 gsm drawing paper, the Fabriano Accademia, but any medium weight paper will do the job while you practice. Later on you might want to experiment until you find the perfect colour/weight/texture. e. MDF Board and hinges - fastening the screen to a board will make your setup more stable. You can lift the screen easily up and down and just focus on getting your image right.
We were each given sheets of paper, a pencil and a craft knife. We had to come up with a simple pattern that when cut out produces a positive and a negative image, one for each colour we were about to print. As most of us Lawrence staff are artists or hobbyist, some amazing drawings started popping up almost immediately. Here is my cat inspired by - you guessed it - my amazing cat Abbey.
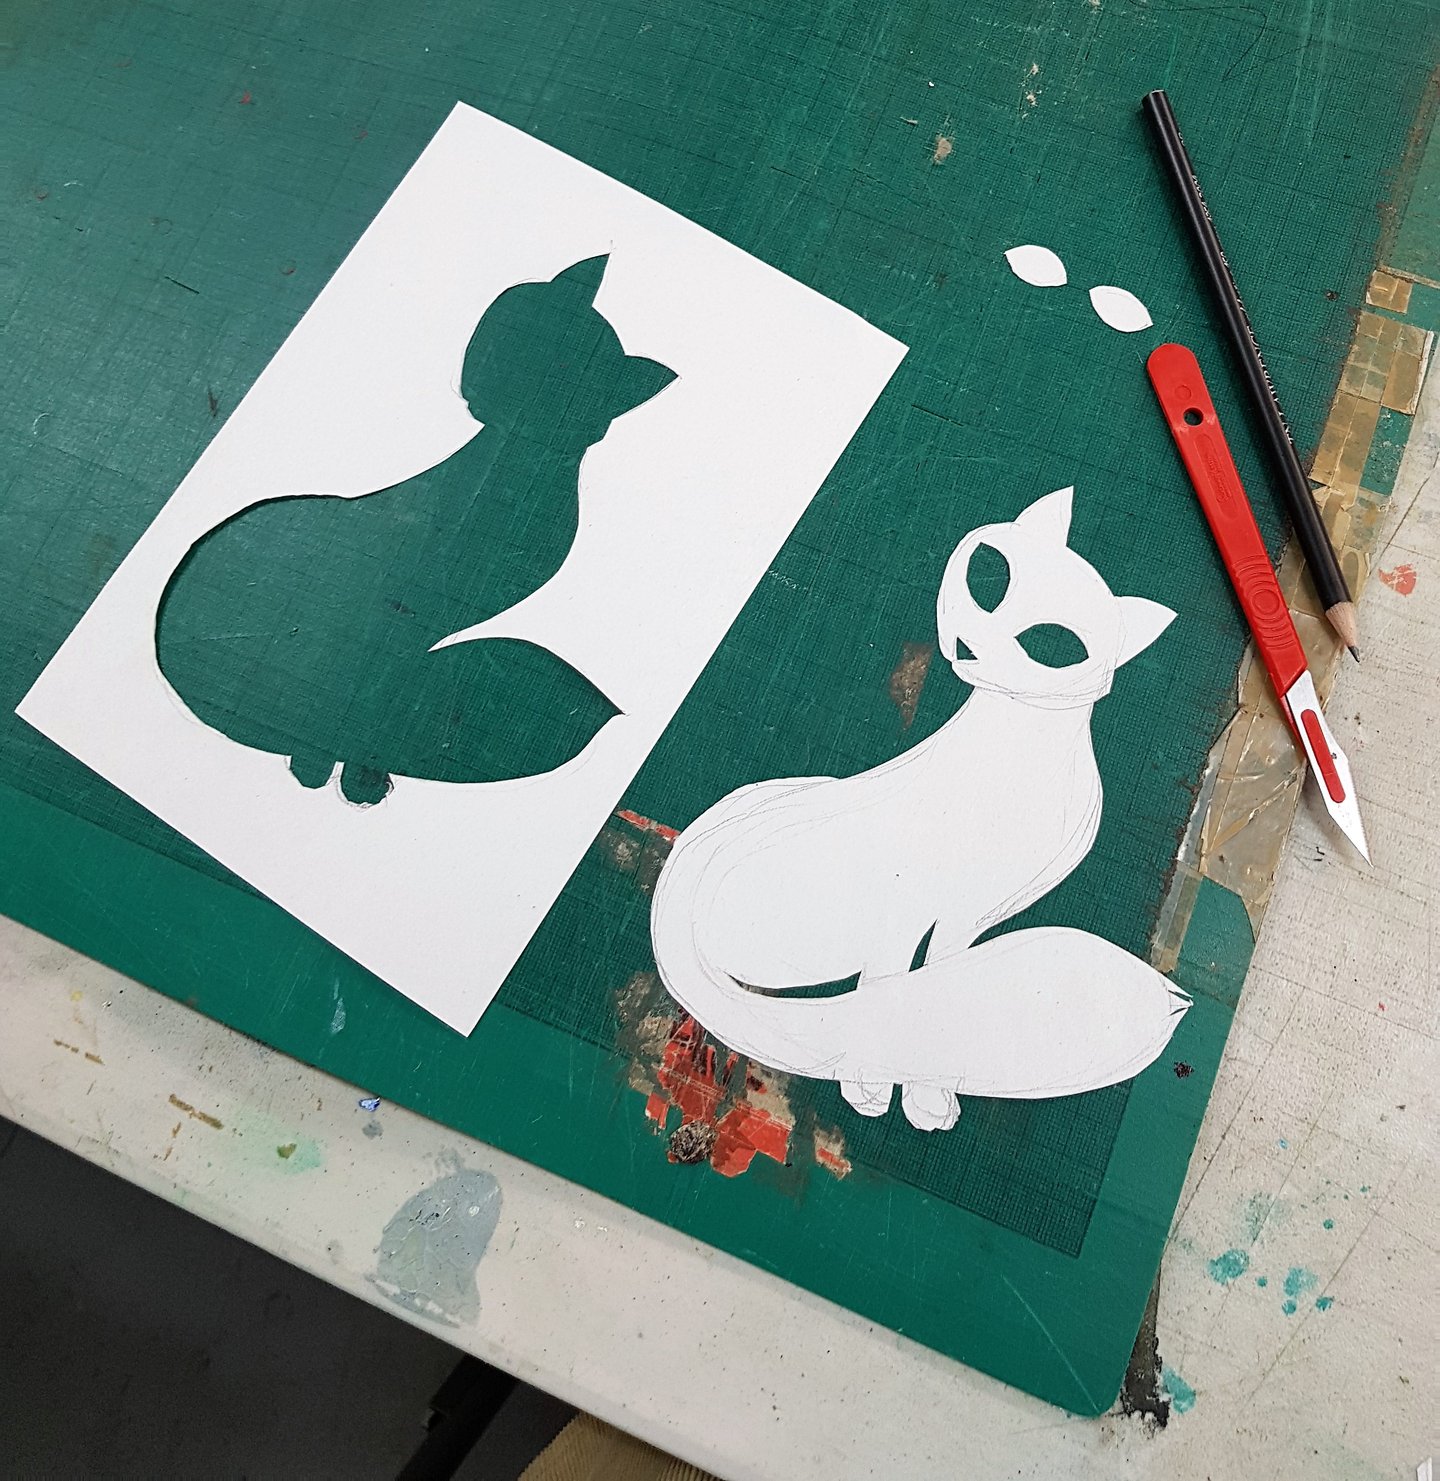
While we were busy with drawing and cutting, Vicky set up the screens. She first created a 'window' with parcel tape leaving about an A5 printing area. This blocked out a wide border and made sure that we have a lovely white frame to our images on the A4 Fabriano Accademia paper.

Then, using the squeegee, she 'flooded' the first screen with red screen printing ink which gives an even coverage throughout the screen and then on the artwork. One by one, we placed our negative images carefully on top of the printing paper and under the screen. Vicky explained that for the best result we needed to press firmly on the squeegee, hold it at a 45 degree angle and swipe quickly towards ourselves. We had to repeat this a few times until the artwork underneath achieved an even red layer. After each of us printed the red image, we laid out the artworks to dry. Even when half-finished, they looked amazing! You can see more here.
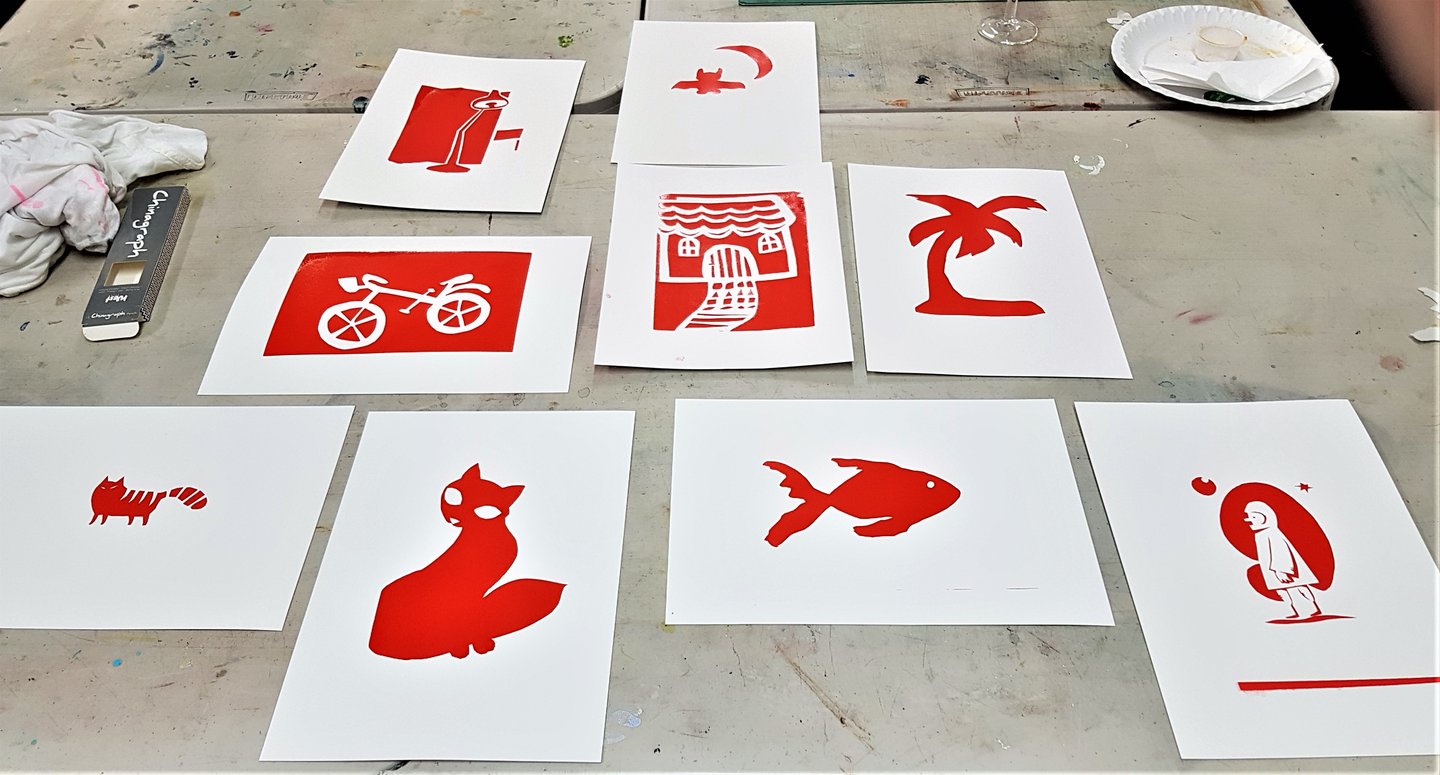
Top to bottom, left to right: Issy, Adam, Georgia, Rachael, Amy, Jacqui, Judy, Mo and Del
Next, we used a separate screen loaded with blue ink which saved us time by not having to clean the screen between colours. We placed the positive of the image on top of the dry(ing) artwork.

Next, we used a separate screen loaded with blue ink which saved us time by not having to clean the screen between colours. We placed the positive of the image on top of the dry(ing) artwork.
This was a brilliant idea for our staff training and I am sure we will come up with an excuse to do this again. Perhaps we can try relief printing next time! By the end of the evening we all felt we learned the basics of screen printing and left with the feeling of accomplishment. To finish off this entry, here is a show-reel of our best work. Enjoy!
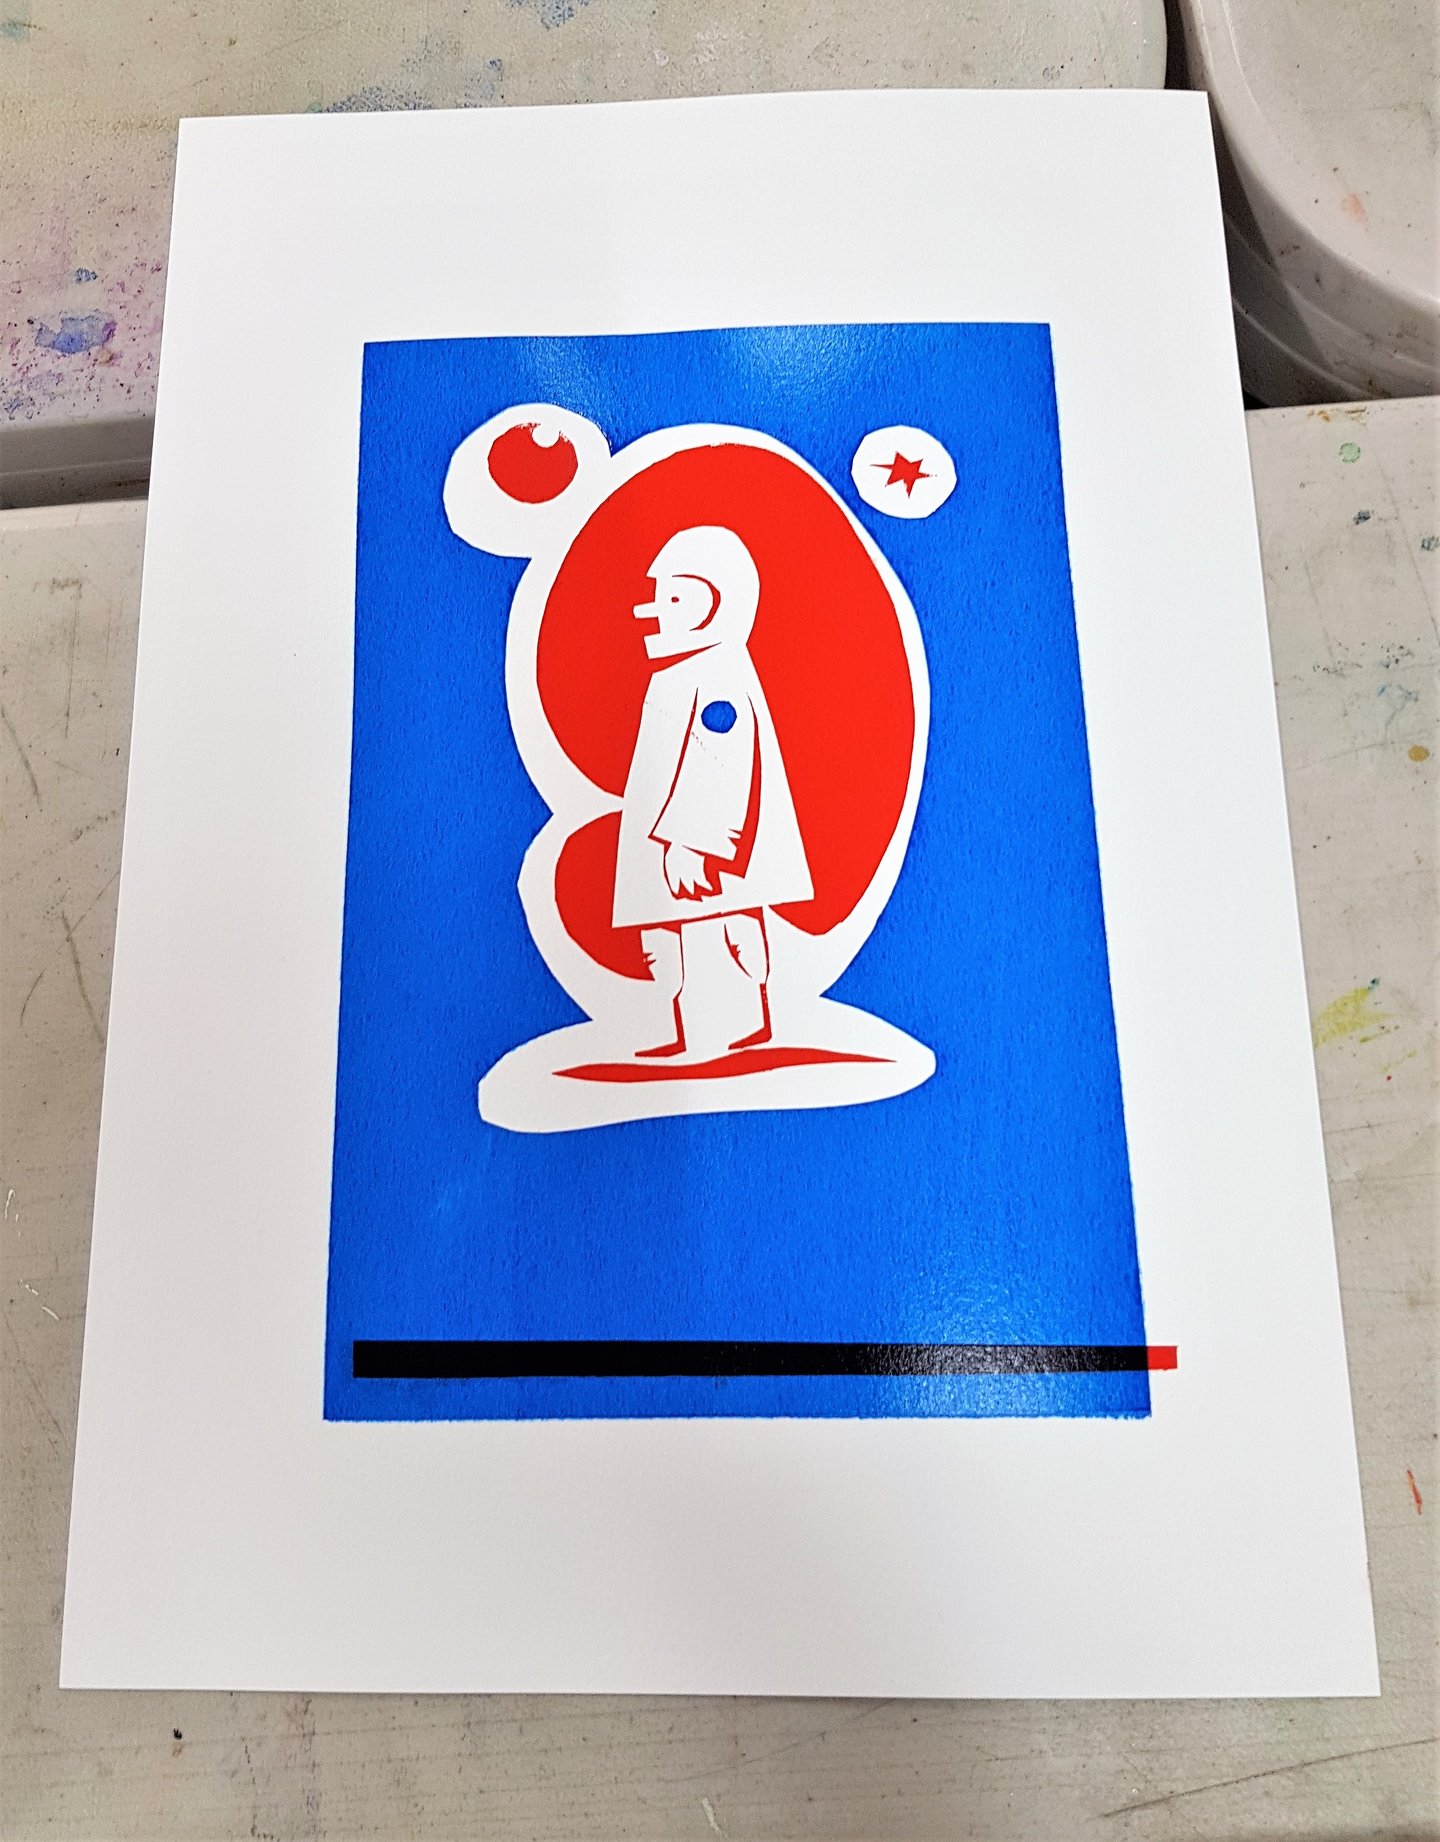
Astronaut Screen Print by Del
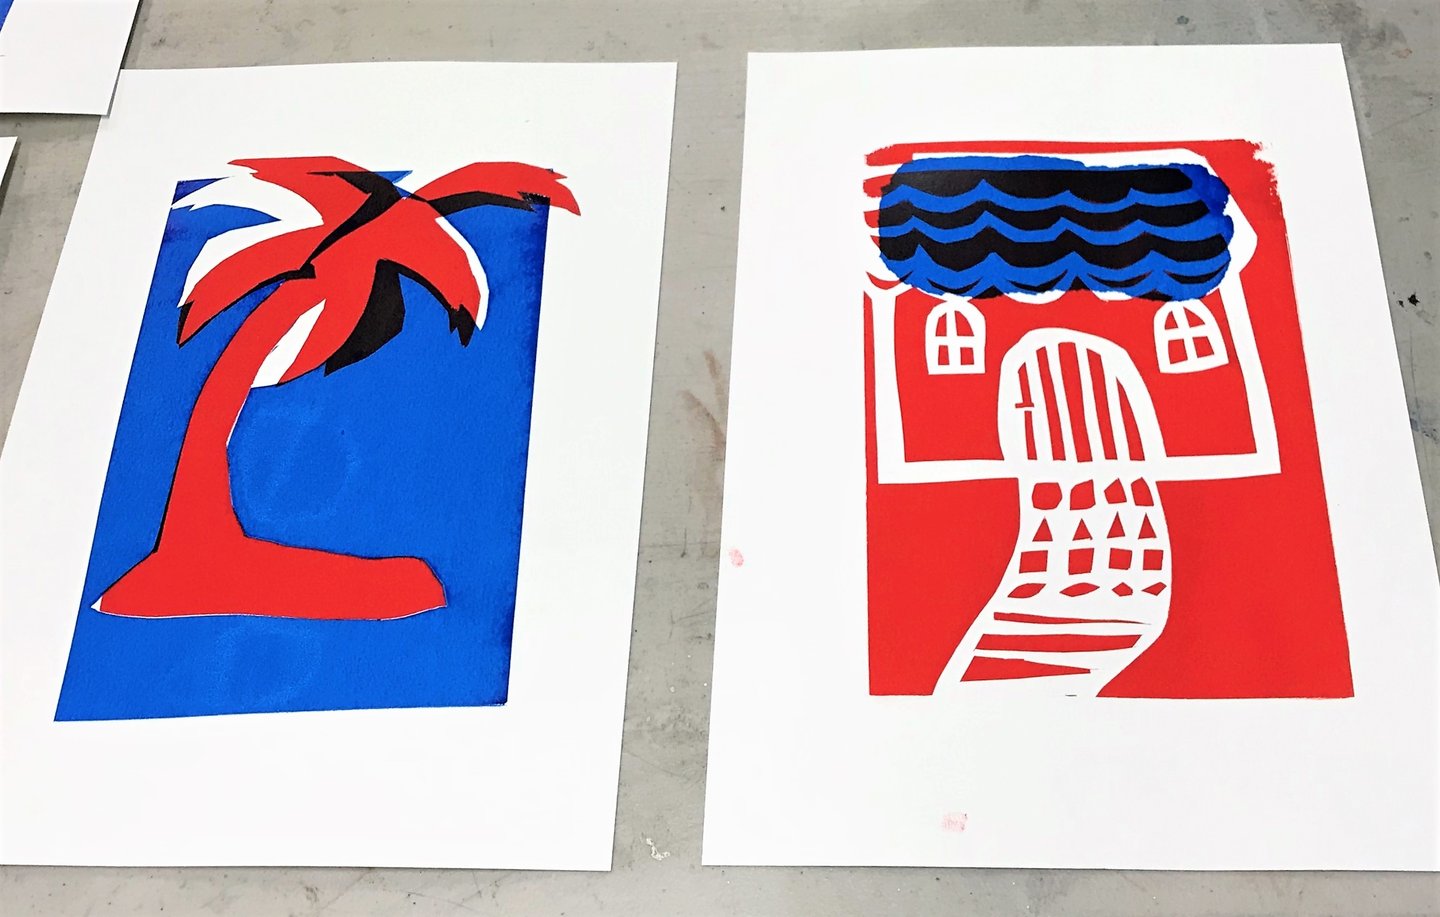
Amy's Palm Trees and Rachael's House
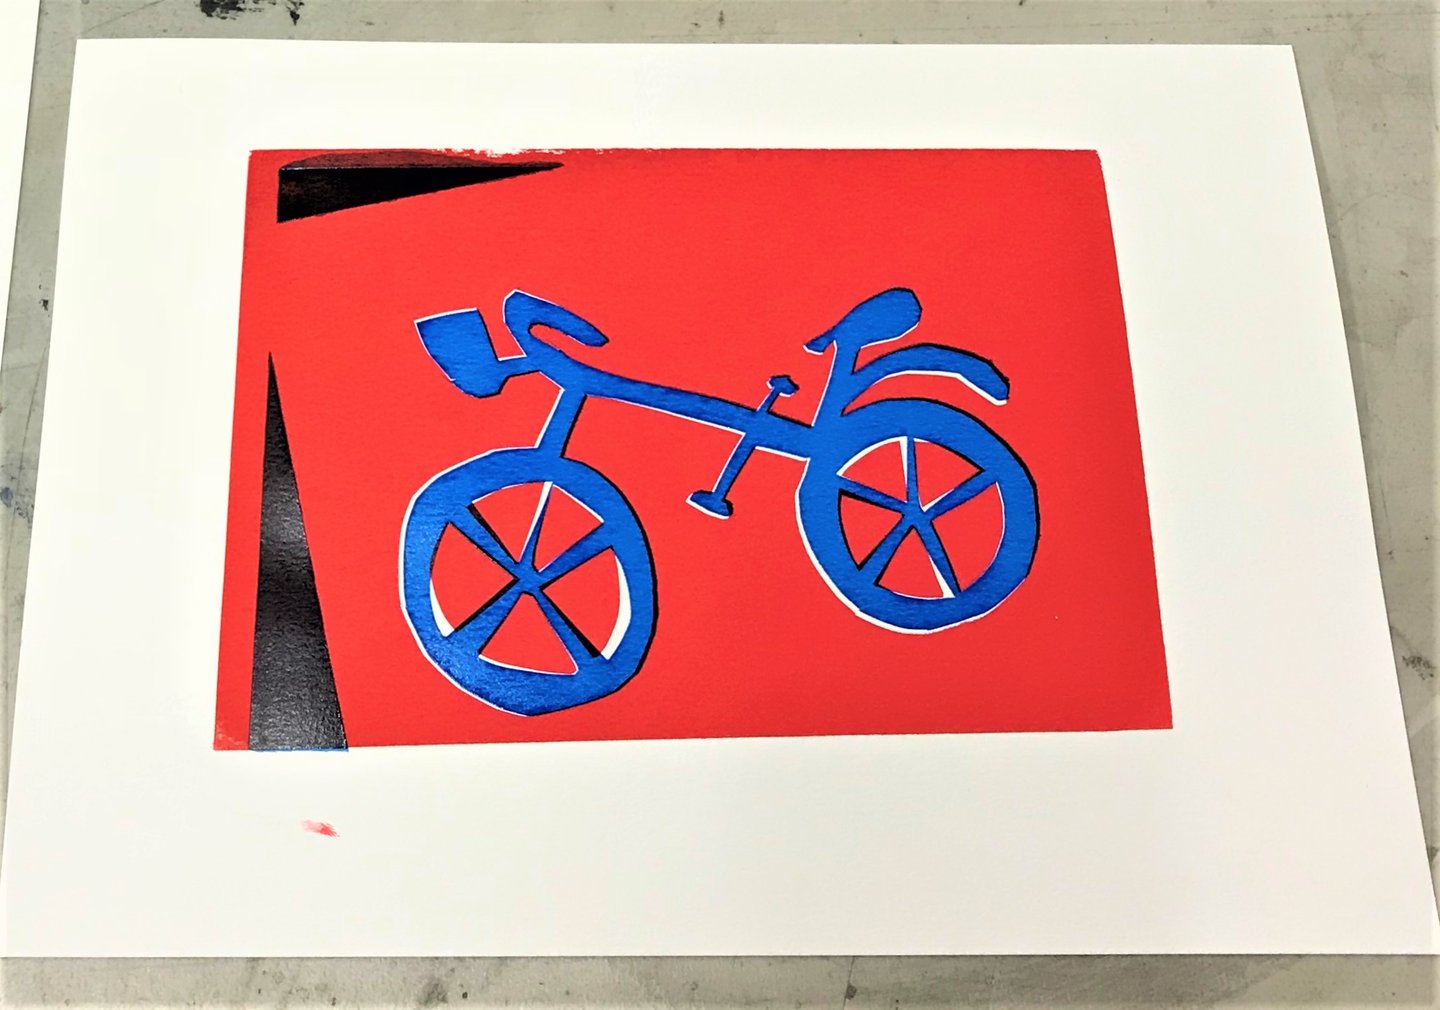
Georgia's Bike
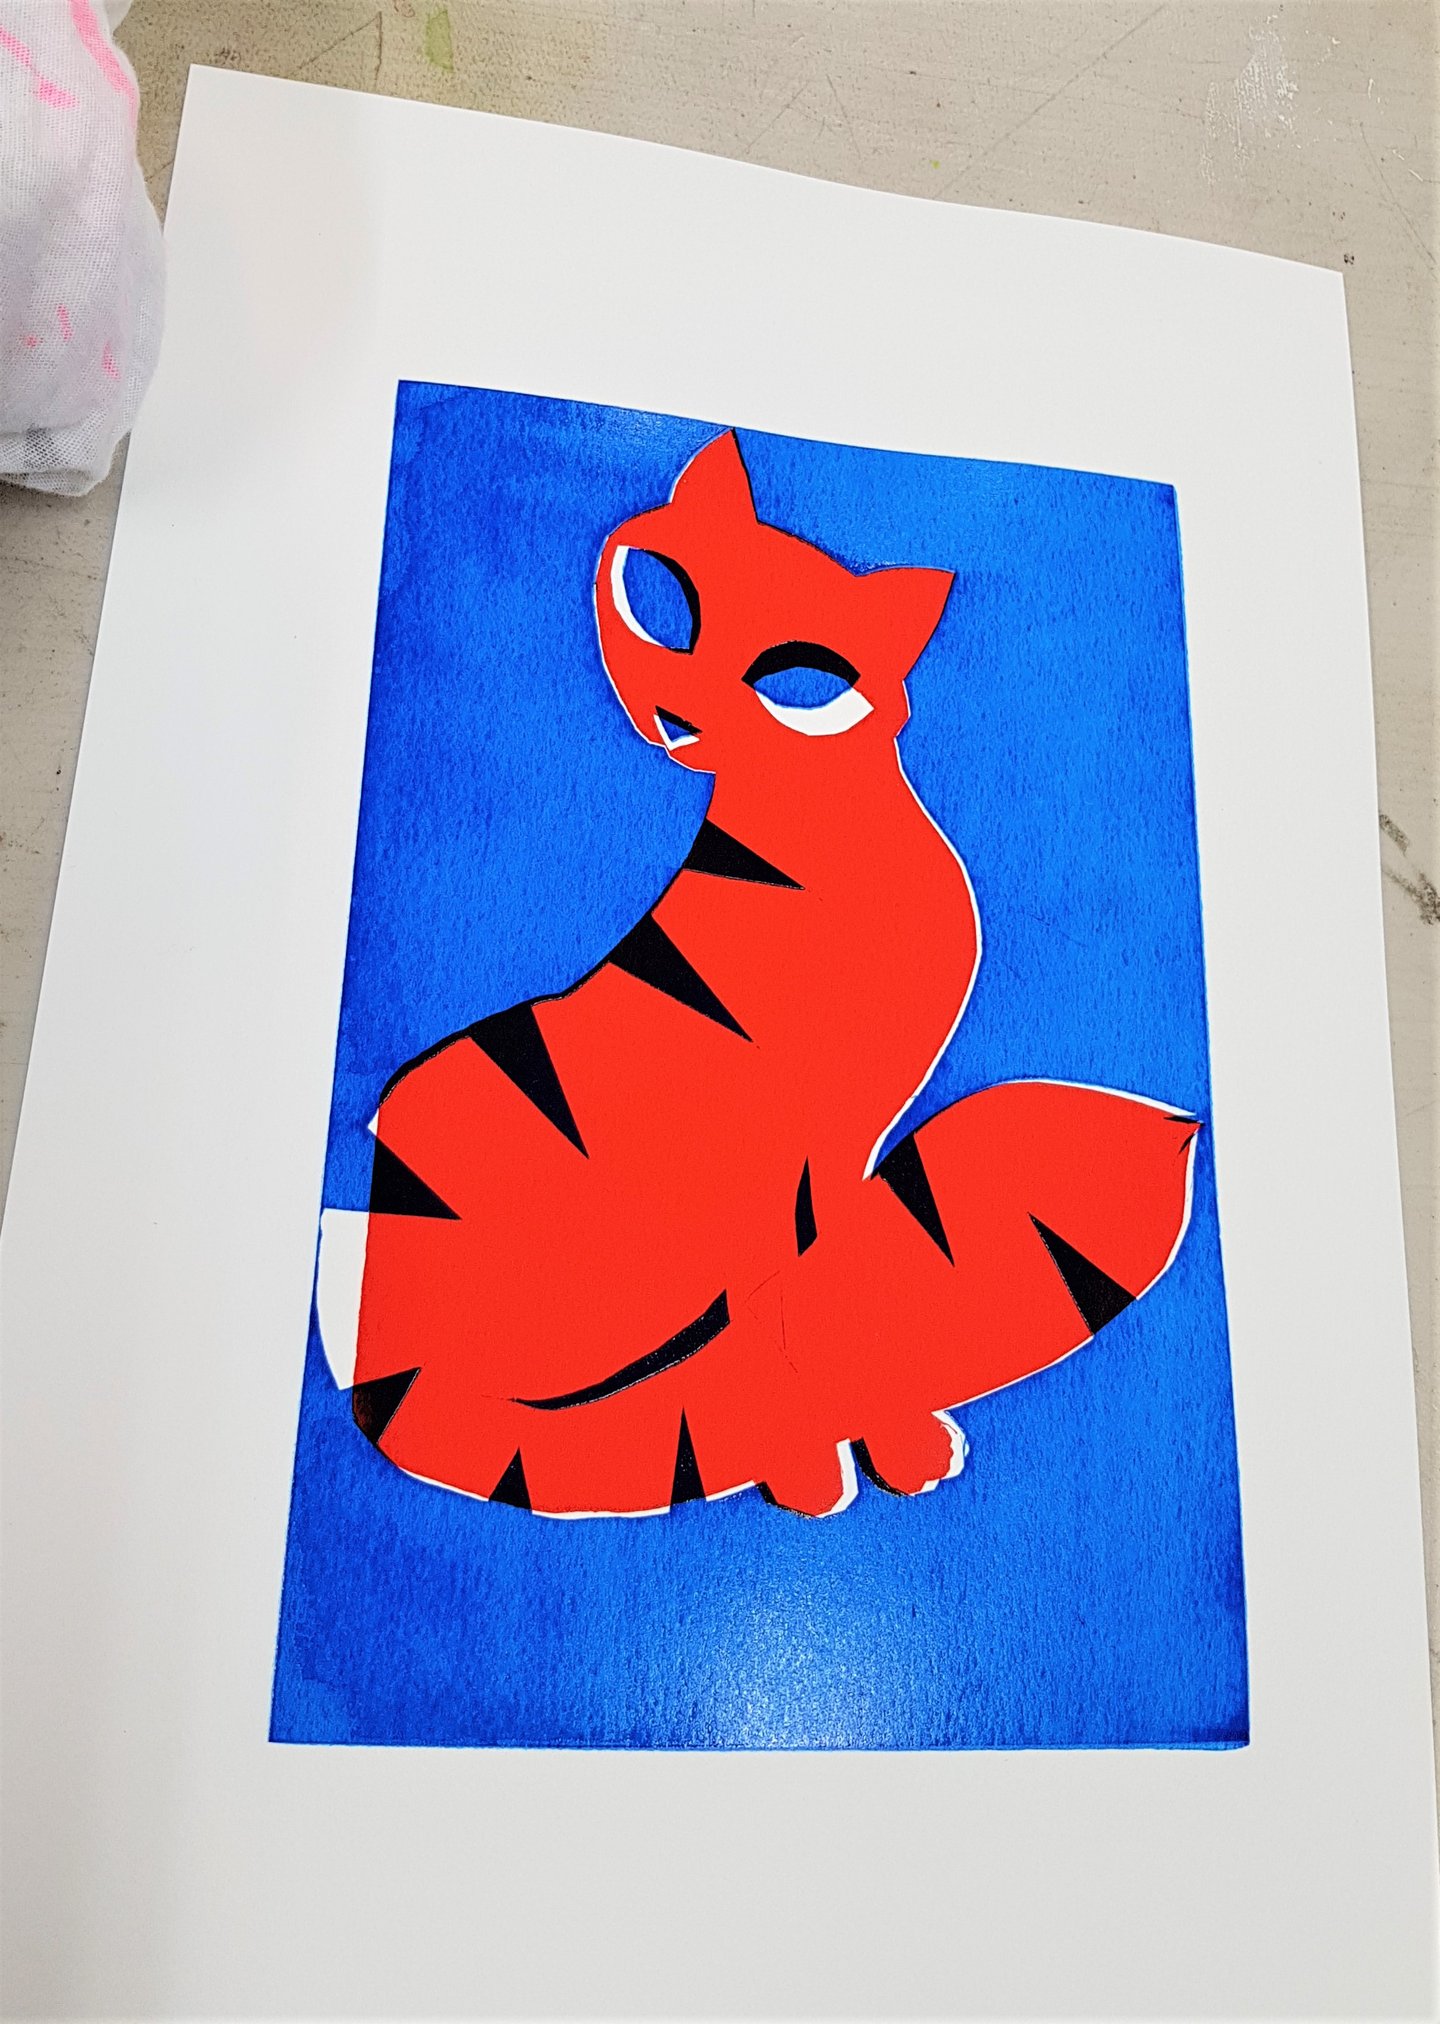
Judy's Cat
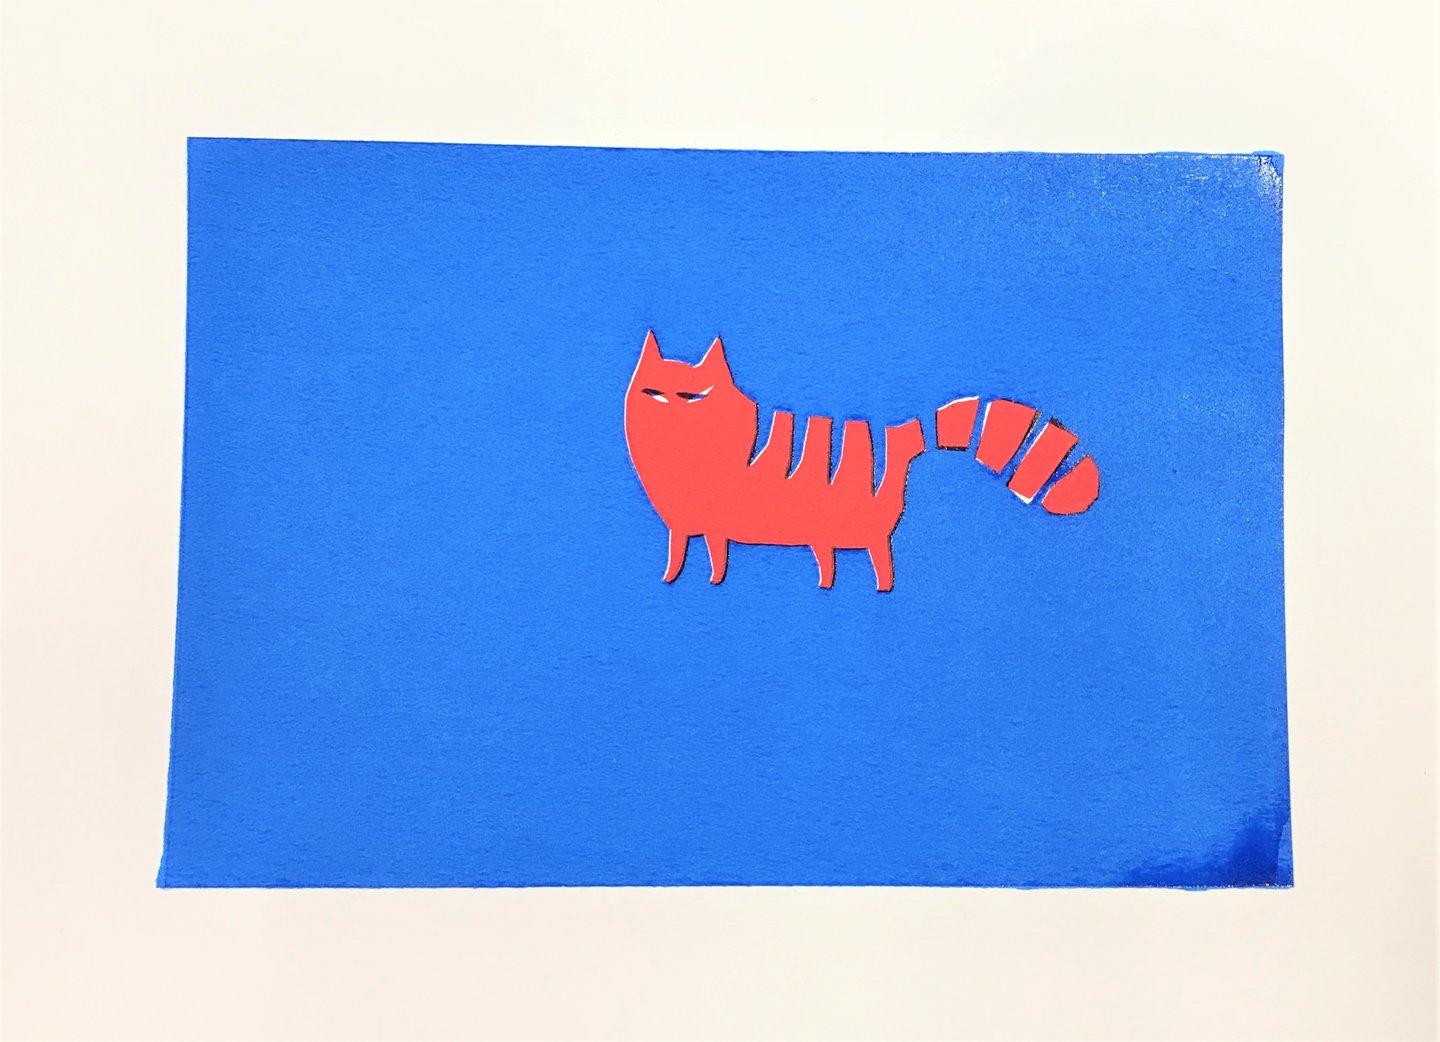
Jacqui's Cheshire Cat
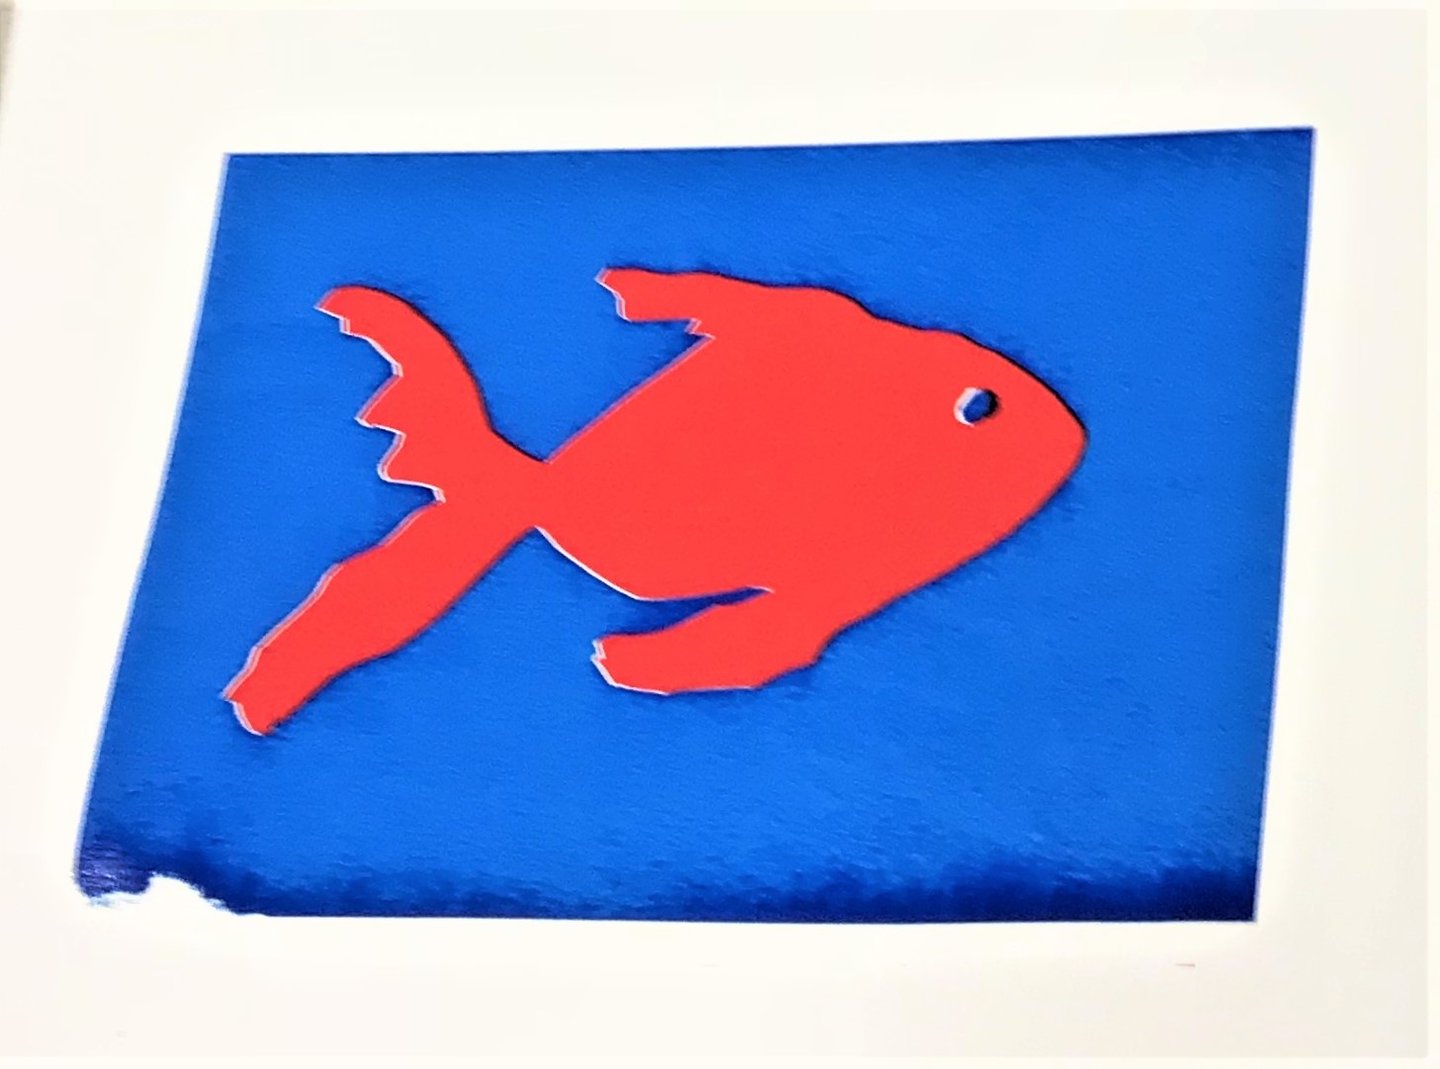
Mo's Fish